React Native Virtualized List Example Tutorial
May 16, 2022 . Admin
Hi Guys,
This tutorial is focused on virtualizedlist example in react native. This post will give you a simple example of how to use virtualizedlist in react native. This post will give you a simple example of how to create virtualizedlist in react native. This post will give you a simple example of how to create virtualizedlist with refreshcontrol in react native. So, let's follow a few steps to create an example of how to implement virtualizedlist in react native.
The VirtualizedList component is best when your list is massively big in size.VirtualizedList helps in better performance and memory usage. As the user scrolls, the data is shown to the user.
Virtualization massively improves memory consumption and performance of large lists by maintaining a finite render window of active items and replacing all items outside of the render window with appropriately sized blank space.
Step 1: Download ProjectIn the first step run the following command to create a project.
expo init VirtualizedListStep 2: App.js
In this step, You will open the App.js file and put the code.
import React from 'react';
import { RefreshControl, SafeAreaView, View, VirtualizedList, StyleSheet, Text, StatusBar } from 'react-native';

const DATA = [];

const getItem = (data, index) => ({
    id: Math.random().toString(12).substring(0),
    title: `Item box ${index + 1}`
});

const getItemCount = (data) => 50;

const Item = ({ title }) => (
    <View style={styles.item}>
        <Text style={styles.title}>{title}</Text>
    </View>
);

const wait = (timeout) => {
    return new Promise(resolve => setTimeout(resolve, timeout));
}

const App = () => {
    const [refresh, setRefreshing] = React.useState(false);

    const onRefresh = React.useCallback(() => {
        setRefreshing(true);
        wait(1000).then(() => setRefreshing(false));
    }, []);

    return (
        <SafeAreaView style={styles.container}>
            <VirtualizedList
                refreshControl={
                    <RefreshControl
                        colors={["#9Bd35A", "#689F38"]}
                        refreshing={refresh}
                        onRefresh={onRefresh}
                    />}
                refreshing={true}
                data={DATA}
                initialNumToRender={4}
                renderItem={({ item }) => <Item title={item.title} />}
                keyExtractor={item => item.id}
                getItemCount={getItemCount}
                getItem={getItem}
            />
            <StatusBar />
        </SafeAreaView>
    );
}

const styles = StyleSheet.create({
    container: {
        flex: 1,
    },
    item: {
        backgroundColor: '#ffb606',
        height: 150,
        justifyContent: 'center',
        marginVertical: 8,
        marginHorizontal: 16,
        alignItems: 'center',
        borderRadius: 20,
    },
    title: {
        fontSize: 32,
    },
});

export default App;
Run Project
In the last step run your project using the below command.
expo start
You can QR code scan in Expo Go Application on mobile.
Output :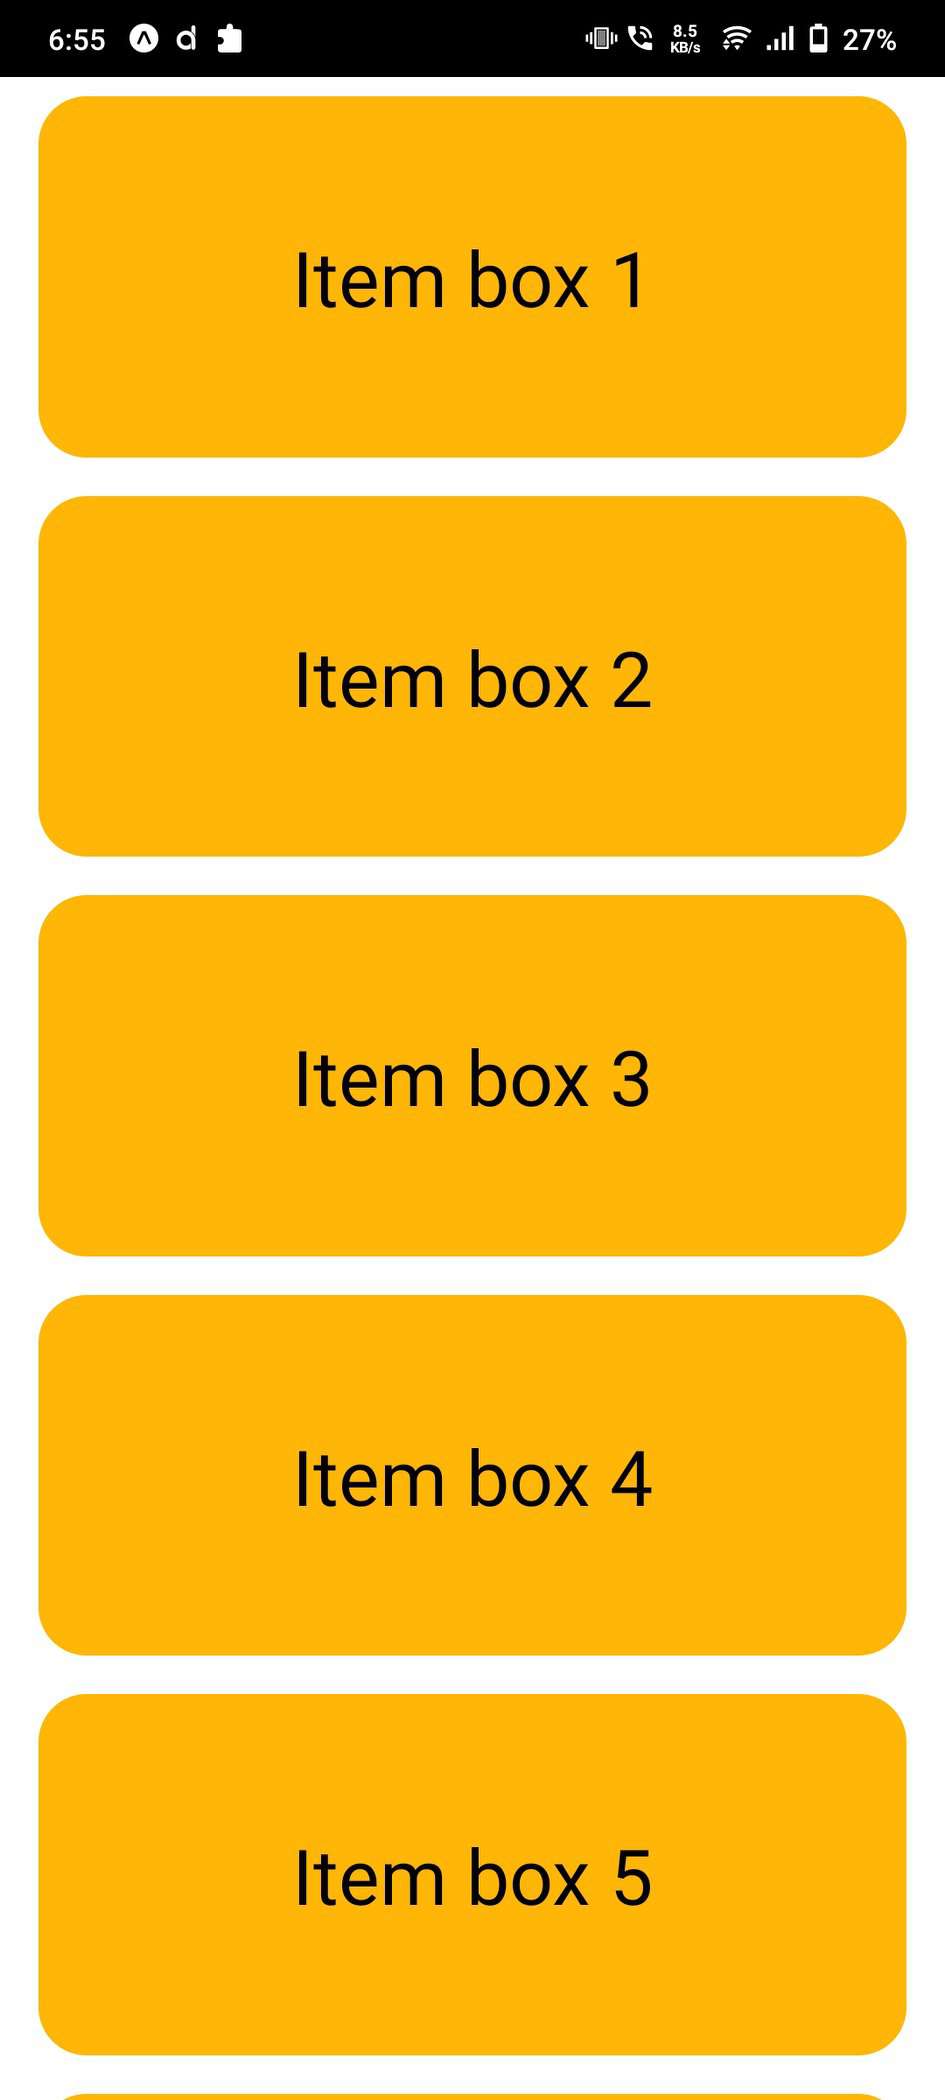
It will help you...