Laravel 9 Send Mail using Mailchimp Example
May 10, 2022 . Admin
Hi Guys
In this blog, I will learn you how to send mail using mailchimp in laravel 9. we will show example of laravel 9 send mail using mailchimp.do you want to integrate the mailchimp newsletter functionality to your laravel 9 application? mailchimp is an email marketing service that allows us to send newsletters to our subscribers. in this article, I show you how to integrate the mailchimp newsletter into the laravel 9 website.
MailChimp is one of the popular email marketing services, which manages the subscribers of your website. Using MailChimp, your subscribers will get a newsletter about new content, announcements, deals, and much more depending on your choice. This is a kind of automated system. The website owner does not need to remember to send the newsletter to subscribers. MailChimp handles on its own, which saves us a lot of time.
Step 1: Download LaravelLet us begin the tutorial by installing a new laravel application. if you have already created the project, then skip following step.
composer create-project laravel/laravel example-appStep 2: Get MailChimp API Key and Audience ID
In this step, In order to integrate the MailChimp API, you need to get an API key and Audience ID.
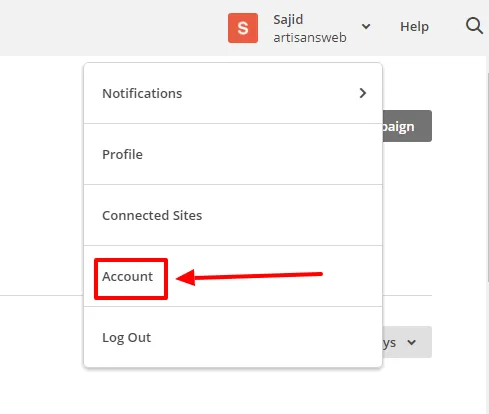
Follow the steps below to get these credentials. Login to your MailChimp account. Under the user drop-down, select the Account.
Click on Extras->API keys.
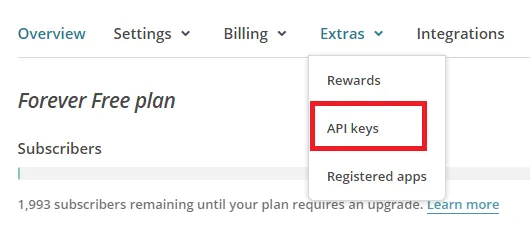
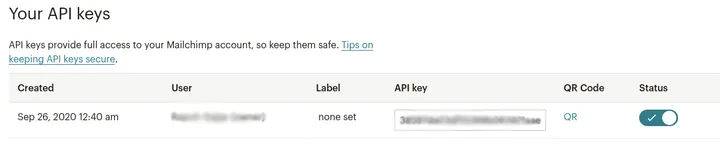
Under the Your API keys section, click on Create A Key and copy your API key which we need in a moment.

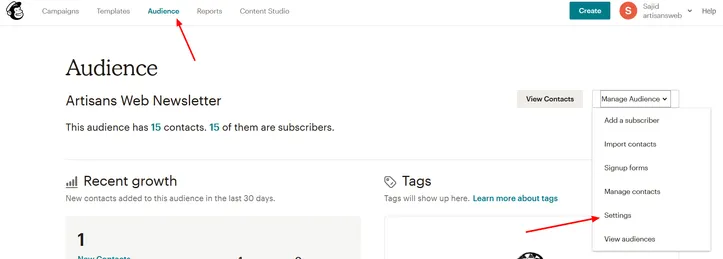
Now you have your API key ready. Next, get an Audience ID to which you need to add your subscribers. For this, click on the Audience menu and then select the option Settings from the Manage Audience drop-down.
Under the Settings click on the ‘Audience name and defaults’.
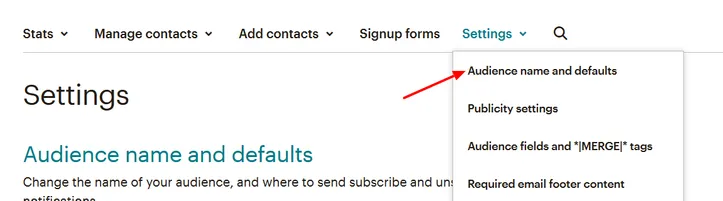
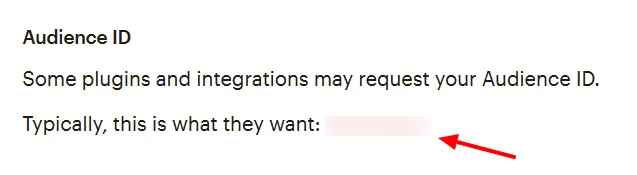
On the next page, you will find your Audience ID.
Api key
Account->Extras->Api Key
Mailchimp has built the fantastic library Laravel newsletter. I am going to integrate the MailChimp newsletter using this library
Open the terminal in your project’s root directory and run the command:
composer require mailchimp/mailchimp.env
....
MAILCHIMP_APIKEY=YOUR_MAILCHIMP_API_KEY
MAILCHIMP_LIST_ID=YOUR_MAILCHIMP_LIST_ID
Step 4: Create Route
Make sure to replace placeholder ROUTE_HERE with the actual value.
<?php

use App\Http\Controllers\MailChimpController;

/*
|--------------------------------------------------------------------------
| Web Routes
|--------------------------------------------------------------------------
|
| Here is where you can register web routes for your application. These
| routes are loaded by the RouteServiceProvider within a group which
| contains the "web" middleware group. Now create something great!
|
*/

Route::get('/send-mail-using-mailchimp', [MailChimpController::class, 'index'])->name('send.mail.using.mailchimp.index');
Step 5: Create Controller
Next, in your controller file, add the facade of the installed package.
<?php

namespace App\Http\Controllers;

use Illuminate\Http\Request;

class MailChimpController extends Controller
{
    /**
     * Write code on Method
     *
     * @return response()
     */
    public function index(Request $request)
    {
        $listId = env('MAILCHIMP_LIST_ID');

        $mailchimp = new \Mailchimp(env('MAILCHIMP_KEY'));

        $campaign = $mailchimp->campaigns->create('regular', [
            'list_id' => $listId,
            'subject' => 'Example Mail',
            'from_email' => 'rajeshgajjar1997@gmail.com',
            'from_name' => 'Rajesh',
            'to_name' => 'Rajesh Subscribers'

        ], [
            'html' => $request->input('content'),
            'text' => strip_tags($request->input('content'))
        ]);

        //Send campaign
        $mailchimp->campaigns->send($campaign['id']);

        dd('Campaign send successfully.');
    }
}
Run Laravel App:
All steps have been done, now you have to type the given command and hit enter to run the laravel app:
php artisan serveNow, you have to open web browser, type the given URL and view the app output:
http://localhost:8000/send-mail-using-mailchimp
It will help you...