Laravel Custom Insert Query Example Tutorial
Jun 07, 2021 . Admin

Hi Dev,
In this article, I will explain you like share with you custom insert query example in laravel. i will show laravel custom insert query example.So We can insert the record using the DB facade with insert method.
Now, in this post i am going to show you how to insert data in database utilizing laravel framework PHP. The INSERT INTO statement is utilized to insert incipient data to a MySQL table:
Here, I will give you full example and syntax for laravel custom insert query example. So let's see the bellow example and follow my steps:
Syntax
DB::insert('insert into table_name (column_name, column_name) values (?, ?)', [value_1, 'value_n']);
Step 1 : Add Route
In this first step, you can integrate route in routes file so let's open web.php file add bellow route in file.
Path : routes/web.php
<?php
use App\Http\Controllers\ProductController;
use Illuminate\Support\Facades\Route;

/*
|--------------------------------------------------------------------------
| Web Routes
|--------------------------------------------------------------------------
|
| Here is where you can register web routes for your application. These
| routes are loaded by the RouteServiceProvider within a group which
| contains the "web" middleware group. Now create something great!
|
*/

Route::get('insert',[ProductController::class, 'createform'])->name('insert');
Route::post('store',[ProductController::class,'store'])->name('store');
Step 2 : Create Controller
In this second step you have to require new controller as ProductController so let's open terminal and run bellow artisan command:
php artisan make:controller ProductControllerPath : App\Http\Controllers\ProductController.php
<?php
namespace App\Http\Controllers;

use Illuminate\Http\Request;
use App\Models\Product;
use Illuminate\Support\Facades\DB;

class ProductController extends Controller
{
    /**
     * Write code on Method
     *
     * @return response()
     */
    public function createform()
    {
        return view('student_create');
    }

    /**
     * Write code on Method
     *
     * @return response()
     */
    public function store(Request $request)
    {
        $name = $request->input('name');

        DB::insert('insert into products (name) values(?)',[$name]);

        echo "Product inserted successfully.
";

        echo 'Click Here to go back.';
    }
}
Step 3 : Create View File
In the last step, you can engender view file as student_create.blade.php file open this file put the bellow code:
<html>
<head>
    <title>Laravel Custom Insert Query - MyWebTuts.com</title>
    <link rel="stylesheet" href="https://maxcdn.bootstrapcdn.com/bootstrap/4.5.2/css/bootstrap.min.css">
    <style type="text/css">
        body{
            background:#f7fcff;
        }
        .main-box{
            padding:20px;
            margin-top:150px;
            background: #fff;
            margin-left:150px;
        }
    </style>
</head>
<body>
    <div class="container">
        <div class="row">
            <div class="col-md-8 main-box">
                <h2>Laravel Custom Insert Query - MyWebTuts.com</h2>
                <form action = "{{ route('store') }}" method = "post" class="mt-4">
                    @csrf
                    {{-- <input type = "hidden" name = "_token" value = "<?php echo csrf_token(); ?>"> --}}
                    <div class="form-group">
                        <label>Product Name</label>
                        <input type='text' class="form-control"  name='name' id="name" />
                    </div>
                    <div class="form-group">
                        <input type='submit' class="btn btn-success" value="Add Product"/>
                    </div>
                </form>
            </div>
        </div>
    </div>
</body>
</html>
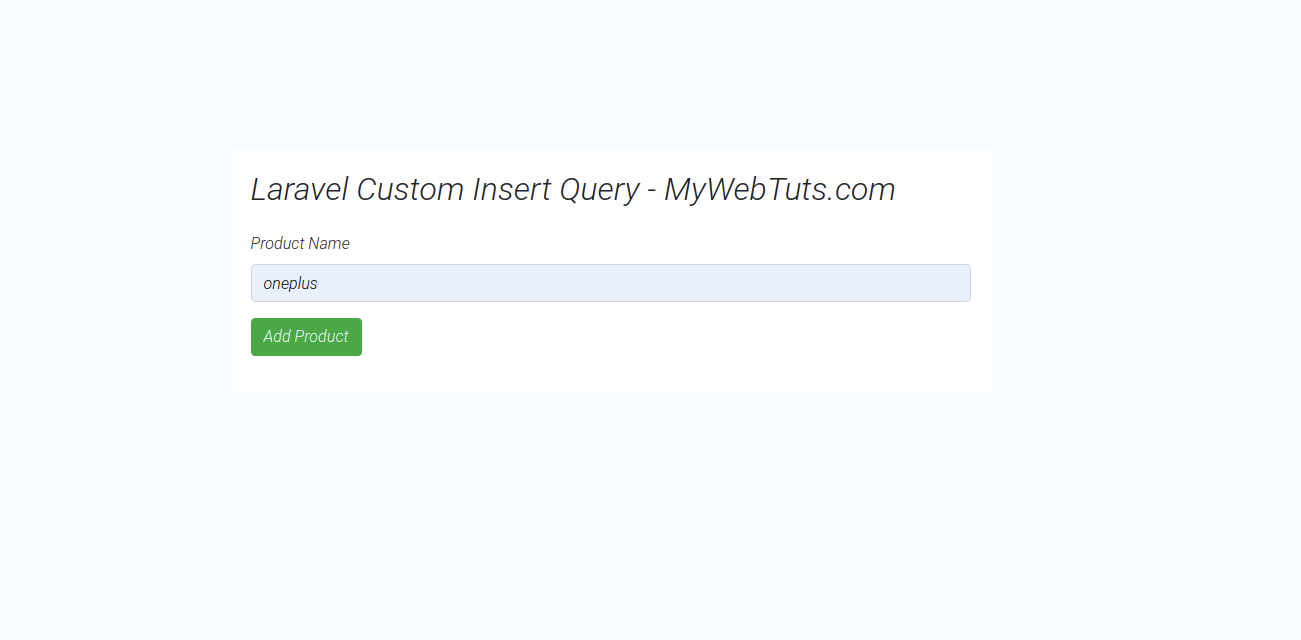
Preview

It will help you....
