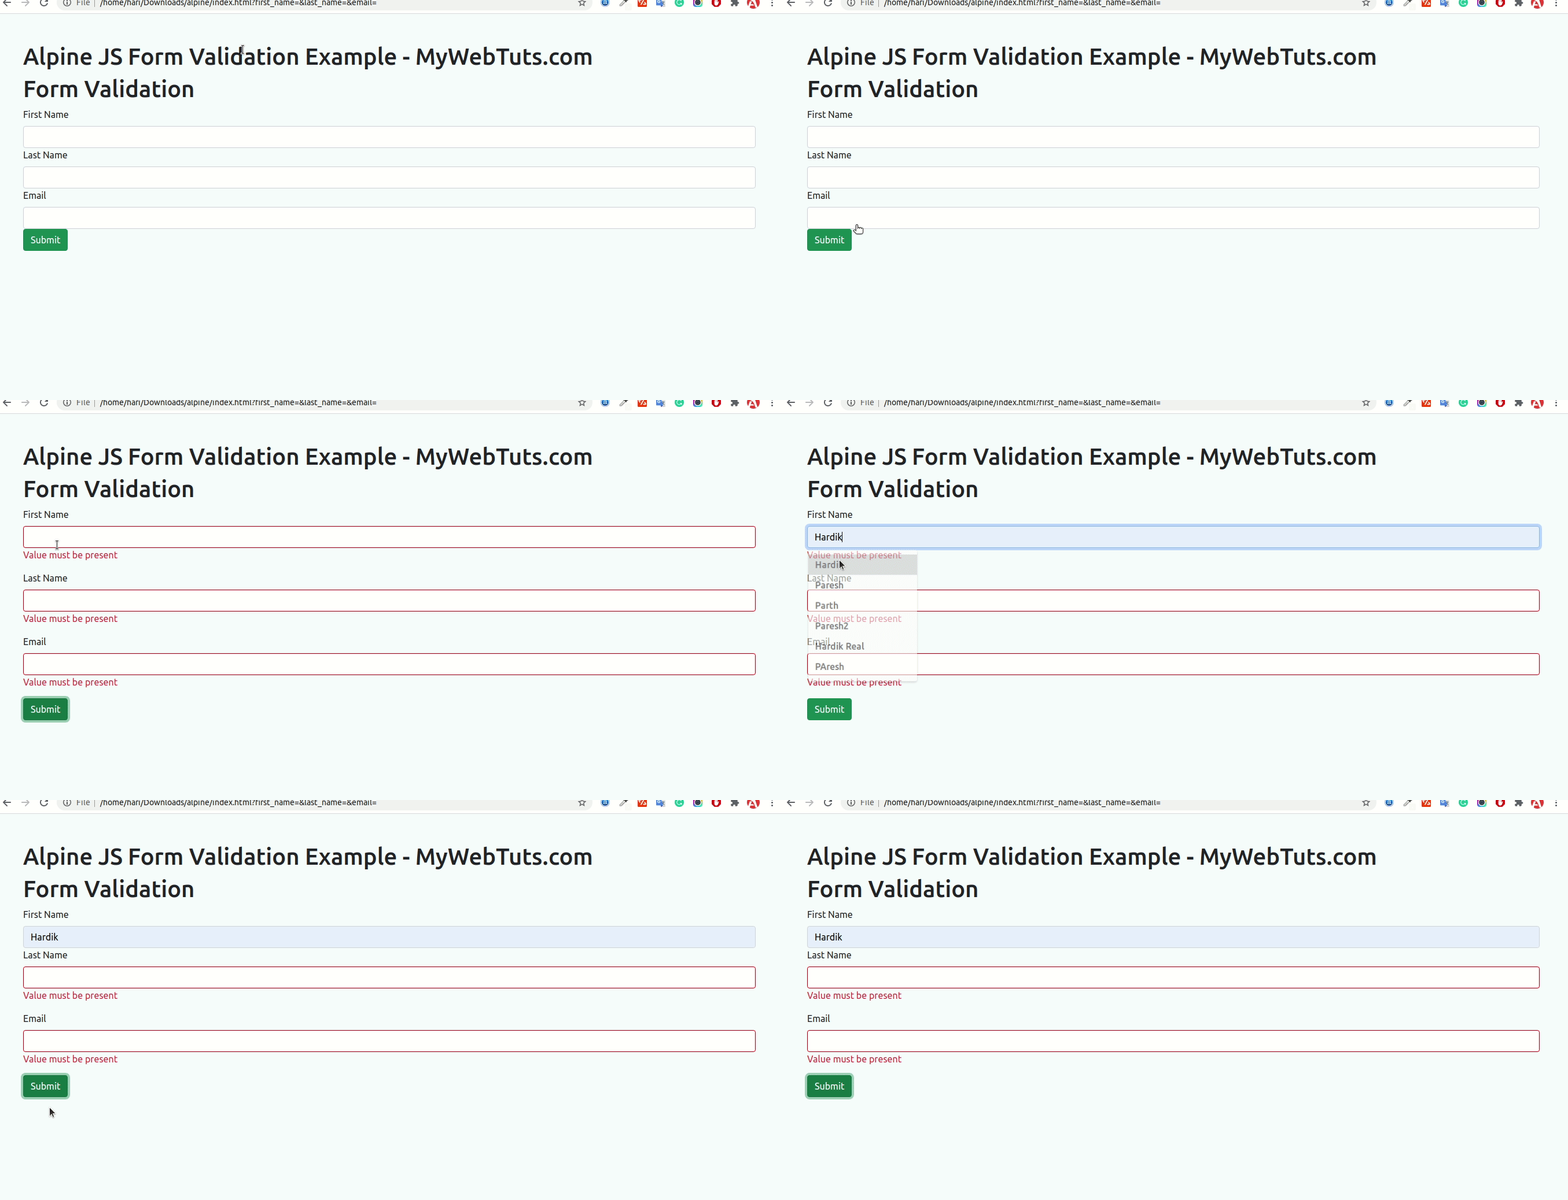
Alpine JS Form Validation Example
May 15, 2021 . Admin

Hi Guys,
Today, I will Explain about you how to basically use simple form validation using form validation in alpine Js and iodine form validation example tutorial.
you can also use this form validation example using alpine js and iodine js in your php and laravel project.
Alpine let's us hold this state in a component by declaring a plain JavaScript object in an x-data
Next up, we need to write our getErrorMessage function.
Let’s declared the form data to hold objects for each input field with two properties: a empty string for the errorMessage and a boolean called blurred. We’ll utilize the name attribute of each element as their keys.
If the Iodine check returns true, we‘ll set the errorMessage property to a empty string. Otherwise, we’ll pass the rule that has broken to another Iodine method: getErrorMessage. This will return a human-readable message. Here’s what this looks homogeneous to:
Now, we withal need to show our error messages to the user.
Let’s integrate <p> tags with an error-message class below each input. We can use another Alpine attribute called x-show on these elements to only show them when their error message subsists. The x-show attribute causes Alpine to toggle display: none; on the element predicated on whether a JavaScript expression resolves to true.
Here, I will give you full example follow step by step for simply display alpine js and iodine js form validation full example with code as bellow.
<!DOCTYPE html>
<html>
<head>
    <title>Alpine JS Form Validation Example - MyWebtuts.com</title>
    <script src="https://cdn.jsdelivr.net/gh/alpinejs/alpine@v2.8.2/dist/alpine.min.js" defer></script>
    <link href="https://cdn.jsdelivr.net/npm/bootstrap@5.0.0/dist/css/bootstrap.min.css" rel="stylesheet" integrity="sha384-wEmeIV1mKuiNpC+IOBjI7aAzPcEZeedi5yW5f2yOq55WWLwNGmvvx4Um1vskeMj0" crossorigin="anonymous">
    <script src="https://cdn.jsdelivr.net/gh/mattkingshott/iodine@3/dist/iodine.min.js" defer></script>
    <style type="text/css">
        body{
            padding: 50px;
            background-color: #f7fcff;
        }
    </style>

</head>
<body>

<h1>Alpine JS Form Validation Example - MyWebTuts.com</h1>

<!-- modal div -->
<div class="mt-6">

    <form id="form" x-data="form()" @submit="submit" action="">
      <h1>Form Validation</h1>

      <label for="first_name" class="form-label">First Name</label>
      <input name="first_name" id="first_name" type="text" data-rules='["required"]' class="form-control">
      <p class="text-danger" x-show.transition.in="first_name.errorMessage" x-text="first_name.errorMessage"></p>

      <label for="last_name" class="form-label">Last Name</label>
      <input name="last_name" id="last_name" type="text" data-rules='["required"]' class="form-control">
      <p class="text-danger" x-show.transition.in="last_name.errorMessage" x-text="last_name.errorMessage"></p>

      <label for="email" class="form-label">Email</label>
      <input name="email" type="email" id="email" data-rules='["required","email"]' class="form-control">
      <p class="text-danger" x-show.transition.in="email.errorMessage" x-text="email.errorMessage"></p>

      <input type="submit" class="btn btn-success">
    </form>
</div>

<script type="text/javascript">
    window.form = () => {
      return {
        first_name: {errorMessage:'', blurred:false},
        last_name: {errorMessage:'', blurred:false},
        email: {errorMessage:'', blurred:false},
        submit: function (event) {
          this.inputElements = [...this.$el.querySelectorAll("input[data-rules]")];
          this.inputElements.map((input) => {
            if (Iodine.is(input.value, JSON.parse(input.dataset.rules)) !== true) {
              const error = Iodine.is(input.value, JSON.parse(input.dataset.rules));
              event.preventDefault();
              input.classList.add("invalid");
              this[input.name].errorMessage = Iodine.getErrorMessage(error);
              console.log(Iodine.getErrorMessage(error));
            }else{
                input.classList.remove("invalid");
                this[input.name].errorMessage = "";
            }
          });
        }
      }

    }
</script>


</body>
</html>
I Hope It Will Help You..
