How To SetUp Apache Virtual Hosts on Ubuntu?
Jul 05, 2021 . Admin

Hi Guys,
Today,in this tutorial i will apportion with you how to setup apache virtual hosts in ubuntu.The Apache web server is a popular method for serving websites in the cyber world. It provides many puissant features including dynamically loadable modules, robust media support, and extensive integration with other popular software.
Here, we know Apache HTTP Web server is a powerful, free and open source web server that has been, and remains the leading web server platform ahead of others.
Here I will give you full example for setup apache virtual hosts on ubuntu So let's see the bellow step by step.
Step 1 : Create the Directory StructureIn this First step i will explain form scratch, we have to make a directory structure with actual domain name like demo.mywebtuts.test. You can create directory using bellow command
sudo mkdir -p /var/www/demo.mywebtuts.test/public_htmlStep 2 : Give Permissions
In this step, You will create directory after give the permission to directory using bellow command
sudo chown -R $USER:$USER /var/www/demo.mywebtuts.test/public_htmlStep 3 : Create demo page for each Virtual Hosts
In this step, We have to make index.html page for each site using bellow command.
nano /var/www/demo.mywebtuts.test/public_html/index.html
Successfully run this command then after open index.html and put the bellow command.
<html>
  <head>
    <title>How To Set Up Apache Virtual Hosts on Ubuntu - mywebtuts.com!</title>
  </head>
  <body>
    <h1>Welcome to demo.mywebtuts.test</h1>
    <p>Success! The demo.mywebtuts.test virtual host is working!</p>
  </body>
</html>
Put the above code after save and close file, then copy this file to use as the basis for our second site:
Put the above code after save and close file as well.
Step 4 : Create New Virtual Host FilesIn this step, We have to create new virtual host files. Apache comes with a default virtual host files called 000-default.conf that we will use as a template.
sudo cp /etc/apache2/sites-available/000-default.conf /etc/apache2/sites-available/demo.mywebtuts.test.conf
Open the new file in your terminal using nano command:
sudo nano /etc/apache2/sites-available/demo.mywebtuts.test.conf
Run this Command then after setup this conf file using fill some information as bellow:
ServerAdmin admin@example.com
ServerName demo.mywebtuts.test
ServerAlias www.demo.mywebtuts.test
DocumentRoot /var/www/demo.mywebtuts.test/public_html
Step 5 : Enable the New Virtual Host Files
In this step, We will enables the virtual host files. We’ll be using the a2ensite tool to achieve this goal.
sudo a2ensite demo.mywebtuts.test.conf
When you are finished, you need to restart Apache to make these changes take effect and use systemctl status to verify the success of the restart.
sudo systemctl restart apache2Step 6 : Set Up Local Hosts File
In this step, You will setup local host file server ip and host domain name using bellow command
sudo nano /etc/hosts
Run above command thenafter setup the localhost file using domain name.
127.0.0.1   localhost
127.0.1.1   guest-desktop
your_server_IP demo.mywebtuts.test
Step 7 : Run Project
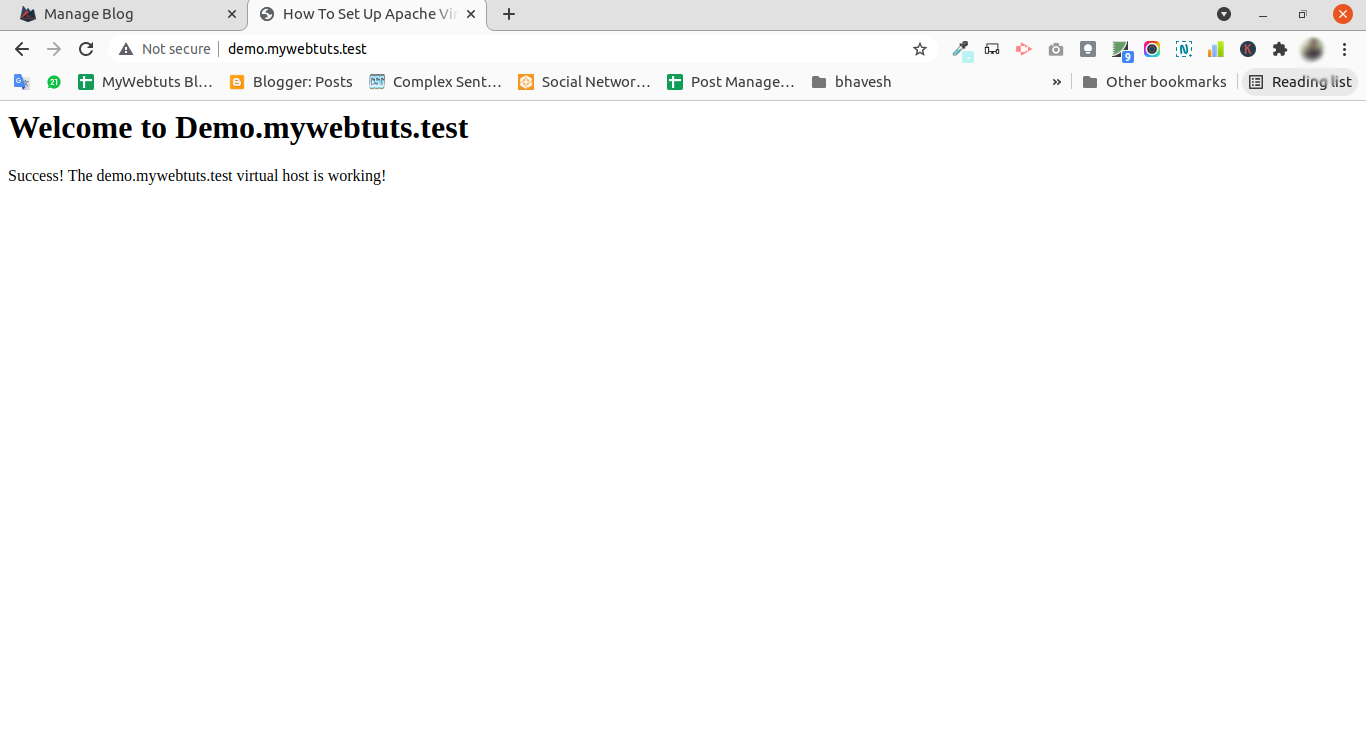
In this step, Lets open the browser and run the bellow url.
demo.mywebtuts.testOutput
It will help you...