How to Implement Yajra Datatables Server Side in Laravel 9?
Feb 22, 2022 . Admin
Hi all,
This article will provide some of the most important how to implement yajra datatables server side in laravel 9?. The complete step by step guide of how to use yajra datatables server side in laravel 9?. This Laravel 9 tutorial help to implement yajra datatable server side with laravel 9. i will give you simple example of yajra datatables server side with ajax in laravel 9. In this example of how to use bootstrap datatables server side in laravel 9.
Yajra DataTables is a jQuery plug-in which is helps us in Laravel for more functionalities like searching, sorting, pagination on tables. If you search how to use yajra data tables in laravel then here in this example is perfect implement from scratch.
You have to just follow a few steps for implement data tables in your laravel application. let's start to use data tables in laravel application.
Step 1: Download LaravelLet us begin the tutorial by installing a new laravel application. if you have already created the project, then skip following step.
composer create-project laravel/laravel example-appStep 2: Install Yajra Datatable
In this step we need to install yajra datatable via the Composer package manager, so one your terminal and fire bellow command:
composer require yajra/laravel-datatables-oracleStep 3: Add Dummy Users
In this step, we will create some dummy users using tinker factory. so let's create dummy records using bellow command:
php artisan tinker

User::factory()->count(20)->create()
Step 4: Create Controller
In this point, now we should create new controller as UserController. this controller will manage layout and getting data request and return response, so put bellow content in controller file:
app/Http/Controllers/UserController.php
<?php

namespace App\Http\Controllers;

use Illuminate\Http\Request;
use App\Models\User;
use DataTables;

class UserController extends Controller
{
    /**
     * Display a listing of the resource.
     *
     * @return \Illuminate\Http\Response
     */
    public function index(Request $request)
    {
        if ($request->ajax()) {
            $data = User::select('*');
            return Datatables::of($data)
                    ->addIndexColumn()
                    ->addColumn('action', function($row){

                            $btn = '<a href="javascript:void(0)" class="edit btn btn-success btn-sm text-center">View</a>';

                            return $btn;
                    })
                    ->rawColumns(['action'])
                    ->make(true);
        }

        return view('users');
    }
}
Step 5: Create Route
In this is step we need to create route for datatables layout file and another one for getting data. so open your "routes/web.php" file and add following route.
routes/web.php
<?php

use Illuminate\Support\Facades\Route;

use App\Http\Controllers\UserController;

/*
|--------------------------------------------------------------------------
| Web Routes
|--------------------------------------------------------------------------
|
| Here is where you can register web routes for your application. These
| routes are loaded by the RouteServiceProvider within a group which
| contains the "web" middleware group. Now create something great!
|
*/

Route::get('users', [UserController::class, 'index'])->name('users.index');
Step 6: Create Blade File
In Last step, let's create users.blade.php(resources/views/users.blade.php) for layout and we will write design code here and put following code:
resources/views/users.blade.php
<!DOCTYPE html>
<html>
<head>
    <title>How to Implement Yajra Datatables Server Side in Laravel 9? - Mywebtuts.com</title>
    <meta name="csrf-token" content="{{ csrf_token() }}">
    <link href="https://cdnjs.cloudflare.com/ajax/libs/twitter-bootstrap/5.0.1/css/bootstrap.min.css" rel="stylesheet">
    <link href="https://cdn.datatables.net/1.11.4/css/dataTables.bootstrap5.min.css" rel="stylesheet">
    <script src="https://code.jquery.com/jquery-3.5.1.js"></script>
    <script src="https://cdn.datatables.net/1.11.4/js/jquery.dataTables.min.js"></script>
    <script src="https://cdn.datatables.net/1.11.4/js/dataTables.bootstrap5.min.js"></script>
</head>
<body>

<div class="container">
    <h3 class="text-center mt-3 mb-4">How to Implement Yajra Datatables Server Side in Laravel 9? - Mywebtuts.com</h3>
    <table class="table table-bordered data-table">
        <thead>
            <tr>
                <th>No</th>
                <th>Name</th>
                <th>Email</th>
                <th width="100px" class="text-center">Action</th>
            </tr>
        </thead>
        <tbody>
        </tbody>
    </table>
</div>

</body>

<script type="text/javascript">
  $(function () {

    var table = $('.data-table').DataTable({
        processing: true,
        serverSide: true,
        ajax: "{{ route('users.index') }}",
        columns: [
            {data: 'id', name: 'id'},
            {data: 'name', name: 'name'},
            {data: 'email', name: 'email'},
            {data: 'action', name: 'action', orderable: false, searchable: false},
        ]
    });

  });
</script>
</html>
Run Laravel App:
All steps have been done, now you have to type the given command and hit enter to run the laravel app:
php artisan serve
Now, you have to open web browser, type the given URL and view the app output:
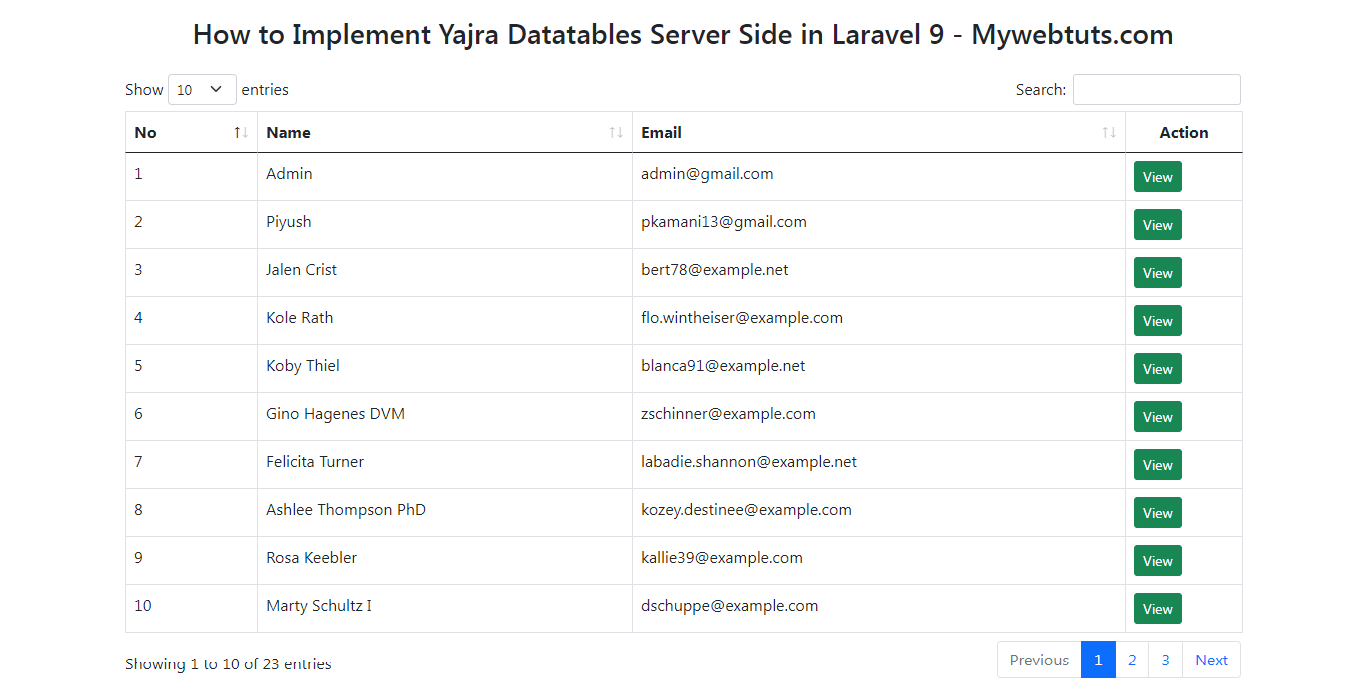
http://localhost:8000/usersOutput:
I hope it can help you...