Laravel 8 File Upload Tutorial Example
May 13, 2021 . Admin

Hi Guys,
Today, I will give you example of laravel 8 file upload example. I’m going to show you about file upload in laravel 8. this example will help you laravel 8 upload file to database. This article goes in detailed on how to upload and exhibit file in laravel 8. Here, Engendering a rudimentary example of laravel 8 file upload with preview.
In this tutorial, we will create two routes one for get method and second one is post method. we engendered simple form with file input. So you have to simple select file and then it will upload in "file" directory of public folder. So you have to simple follow bellow step and get file upload in laravel 8 application.
Here, I will give you full example for laravel 8 file upload as bellow.
Step 1 : Install Laravel 8First of all, we need to create laravel 8 project application using bellow command because of we are going from scratch, So open your terminal OR command prompt and run bellow command:
composer create-project --prefer-dist laravel/laravel blogStep 2: Create Routes
After Install laravel 8 new project we next step, we will add new two routes in web.php file. One route for generate form and another for post method So let's simply create both route as bellow listed:
routes/web.php
<?php

use Illuminate\Support\Facades\Route;

use App\Http\Controllers\FileUploadController;


// FileUploadController Route
Route::get("file-upload",[FileUploadController::class,'file_upload'])->name("file.upload");
Route::post("filestore",[FileUploadController::class,'filestore'])->name("file.store");
Step 3: Create FileUploadController
In third step we will have to create new FileUploadController with simple command i hope already you know how to create controller and here we have to write two method file_upload and filestore(). So one method will handle get method another one for post. So let's add code.
app/Http/Controllers/fileUploadController.php
<?php

namespace App\Http\Controllers;

use Illuminate\Http\Request;

class FileUploadController extends Controller
{
    /**
     * Display a listing of the resource.
     *
     * @return response()
     */

    public function file_upload()
    {
        return view('fileUpload');
    }

    /**
     * Write code on Method
     *
     * @return response()
     */

    public function filestore(Request $request)
    {
        $request->validate([

            'file' => 'required|mimes:pdf,xlx,csv|max:2048',

        ]);

        $fileName = time().'.'.$request->file->extension();

        $request->file->move(public_path('file'), $fileName);

        return back()
            ->with('success','You have successfully upload file.')
            ->with('file',$fileName);

    }
}
Step 4: Create Blade File
Now,We are going at last step we need to create fileUpload.blade.php file and in this file we will create form with file input button. So copy bellow and put on that file.
resources/views/fileUpload.blade.php
<!DOCTYPE html>
<html lang="en">
<head>
    <meta charset="UTF-8">
    <meta name="viewport" content="width=device-width, initial-scale=1.0">
    <title>laravel 8 file upload example - MyWebtuts.com</title>
    <link rel="stylesheet" href="https://stackpath.bootstrapcdn.com/bootstrap/4.5.0/css/bootstrap.min.css">
</head>
<body class="bg-light">
    <div class="container mt-5 border-dark">
        <div class="row">
            <div class="col-md-12">
                <div class="card">
                    <div class="card-header">
                        <h3 mb-4>laravel 8 file upload example - MyWebtuts.com</h3>
                    </div>
                    <div class="card-body">
                        @if($message = Session::get('success'))

                            <div class="alert alert-success alert-block">
                                <button type="button" class="close" data-dismiss="alert">×</button>
                                <strong>{{ $message }}</strong>
                            </div>

                        @endif

                        @if(count($errors) > 0)

                            <div class="alert alert-danger">
                            <strong>Whoops!</strong> There were some problems with your input.
                             <ul>
                                @foreach ($errors->all() as $error)
                                    <li>{{ $error }}</li>
                                @endforeach
                            </ul>
                            </div>

                        @endif
                        <form action="{{ route('file.store') }}" method="POST" enctype="multipart/form-data">
                            @csrf
                            <div class="row">

                                <div class="col-md-6">
                                    <input type="file" name="file" class="form-control">
                                </div>

                                <div class="col-md-6">
                                    <button type="submit" class="btn btn-success">Upload</button>
                                </div>
                            </div>
                        </form>
                    </div>
                </div>
            </div>
        </div>
    </div>
</body>
</html>
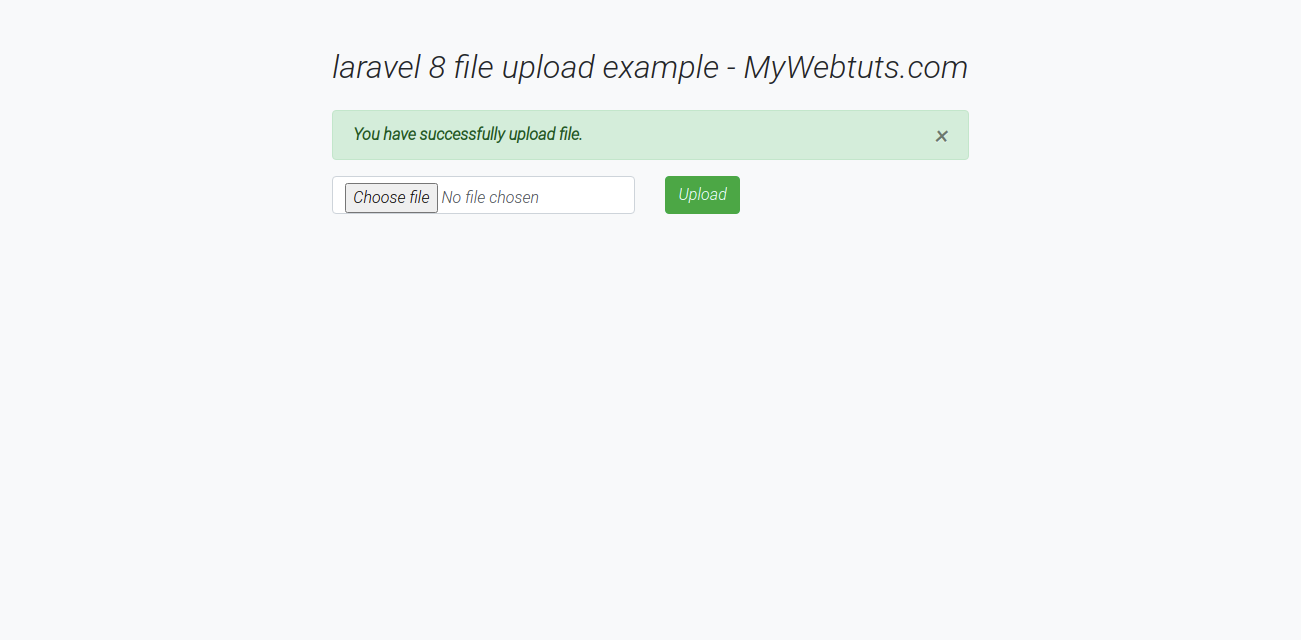
Output

Now you can run and check it.
I Hope It will help you..
