Laravel 9 Authentication Inertia JS Jetstream Tutorial
Feb 14, 2022 . Admin
Hi Guys,
In this tutorial laravel 9 authentication inertia js jetstream tutorial. you will learn laravel 9 auth with inertia jetstream. Here you will learn laravel 9 auth with inertia tutorial. I learn simply step by step laravel 9 authentication inertia example. So, let's follow a few steps to engender an example of authentication laravel 9 inertia jetstream. This post will give you a simple example of laravel 9 authentication inertia example.
For every web application – login & registration must be a needed part. Inside this article we will see Laravel 9 Authentication using Jetstream with Inertia Js. We will use Inertia Js in this tutorial for laravel 9 authentication which provides auth pages and is more comfortable with Vue Js.
Inertia provides a indite to your ajax with laravel blade, validation, etc. you can utilize a javascript framework. so you can visually perceive bellow step to engender auth utilizing laravel 9 inertia.
So let's start by following an example.
Step 1: Download LaravelLet us begin the tutorial by installing a new laravel application. if you have already created the project, then skip following step.
composer create-project laravel/laravel example-appStep 2: Install Jetstream:
Now, in this step, we need to use composer command to install jetstream, so let's run bellow command and install bellow library.
composer require laravel/jetstreamStep 3: Create Auth with Inertia:
now, we need to create authentication using bellow command. you can create basic login, register and email verification. if you want to create team management then you have to pass addition parameter. you can see bellow commands:
php artisan jetstream:install inertia

OR

php artisan jetstream:install inertia --teams
Now, let's node js package:
npm install
let's run package:
npm run dev
now, we need to run migration command to create database table:
php artisan migrate
Now, you can run and check. they installed all views, actions and all in your laravel 9 application.
Step 4: Laravel 9 Jetstream FeaturesLaravel 9 Jetstream provides new all feature are configurable. you can see there is a configuration file fortify.php and jetstream.php file where you can enable and disable option for that feature:
config/fortify.php
....

'features' => [
        Features::registration(),
        Features::resetPasswords(),
        Features::emailVerification(),
        Features::updateProfileInformation(),
        Features::updatePasswords(),
        Features::twoFactorAuthentication(),
    ],
...
config/jetstream.php
....

'features' => [
        Features::profilePhotos(),
        Features::api(),
        Features::teams(),
    ],
...
Run Laravel App:
All steps have been done, now you have to type the given command and hit enter to run the laravel app:
php artisan serve
Now, you have to open web browser, type the given URL and view the app output:
http://localhost:8000/
now you can see layout bellow as here:
Home Page: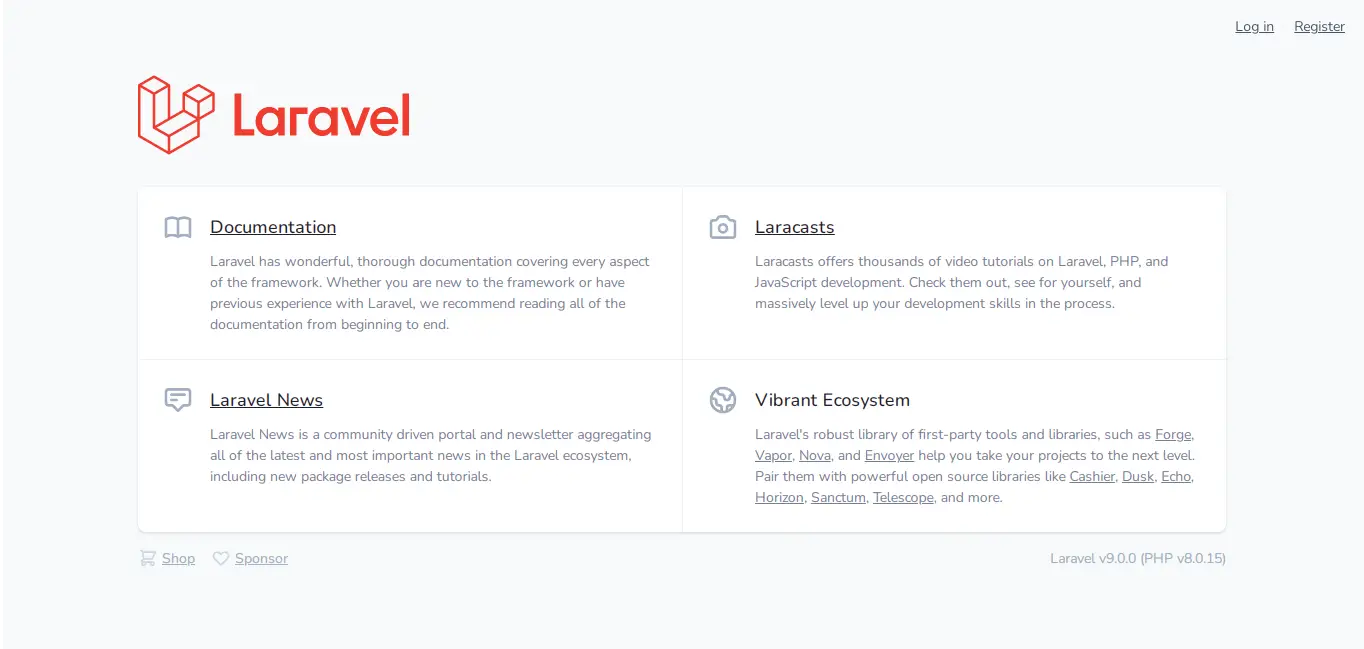 Login Page:
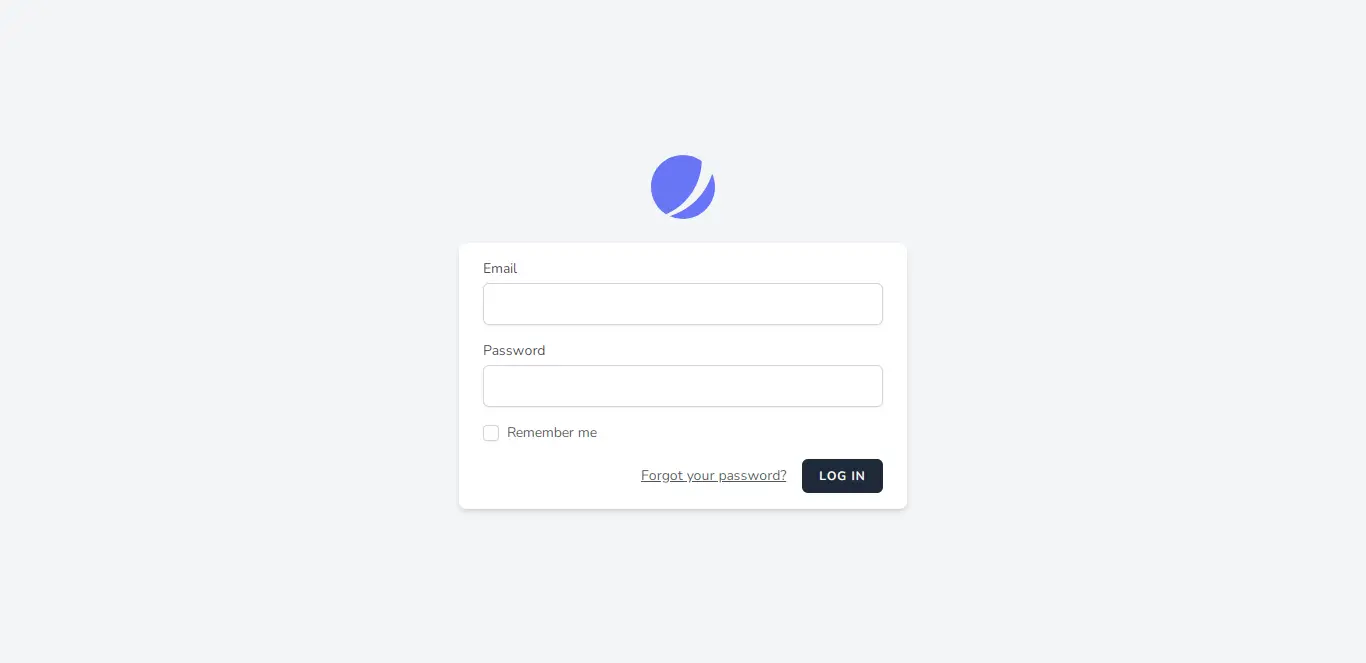
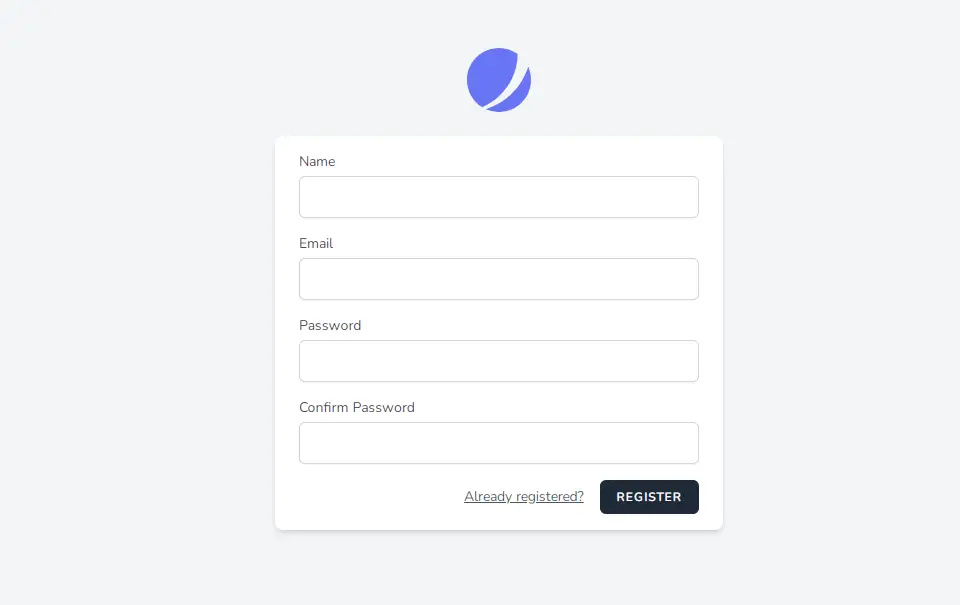
 Register Page:
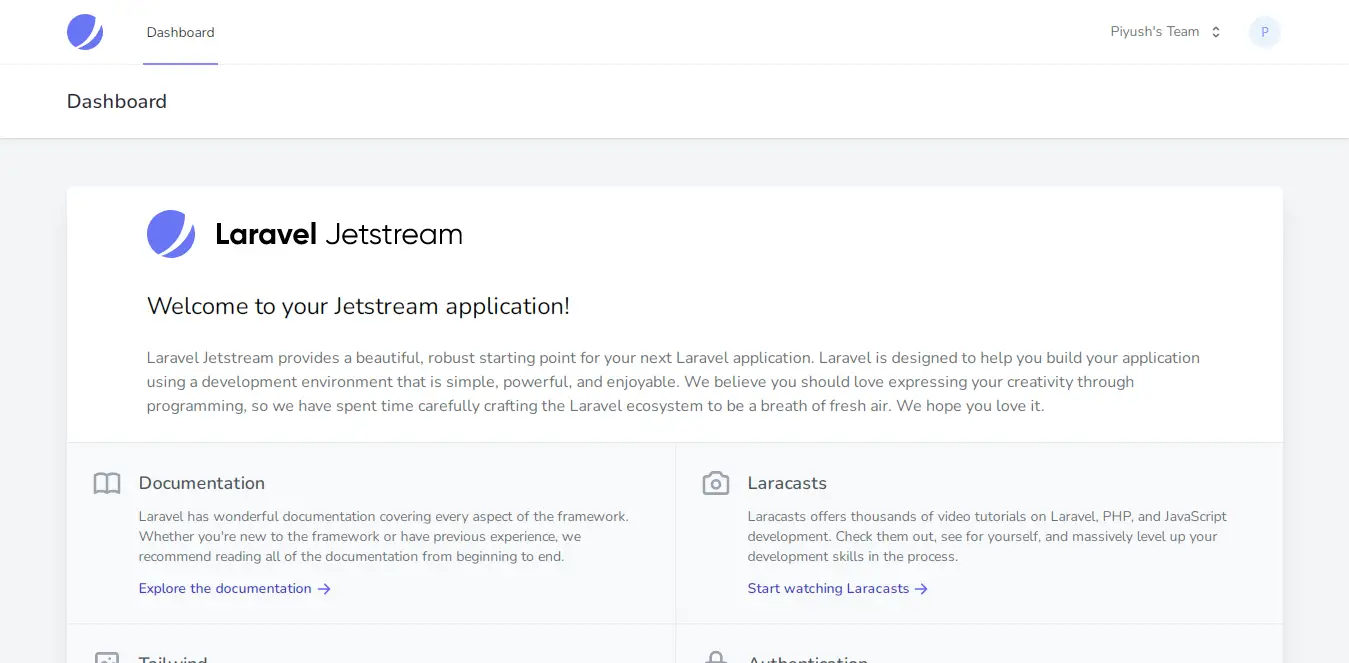
 Dashboard Page:
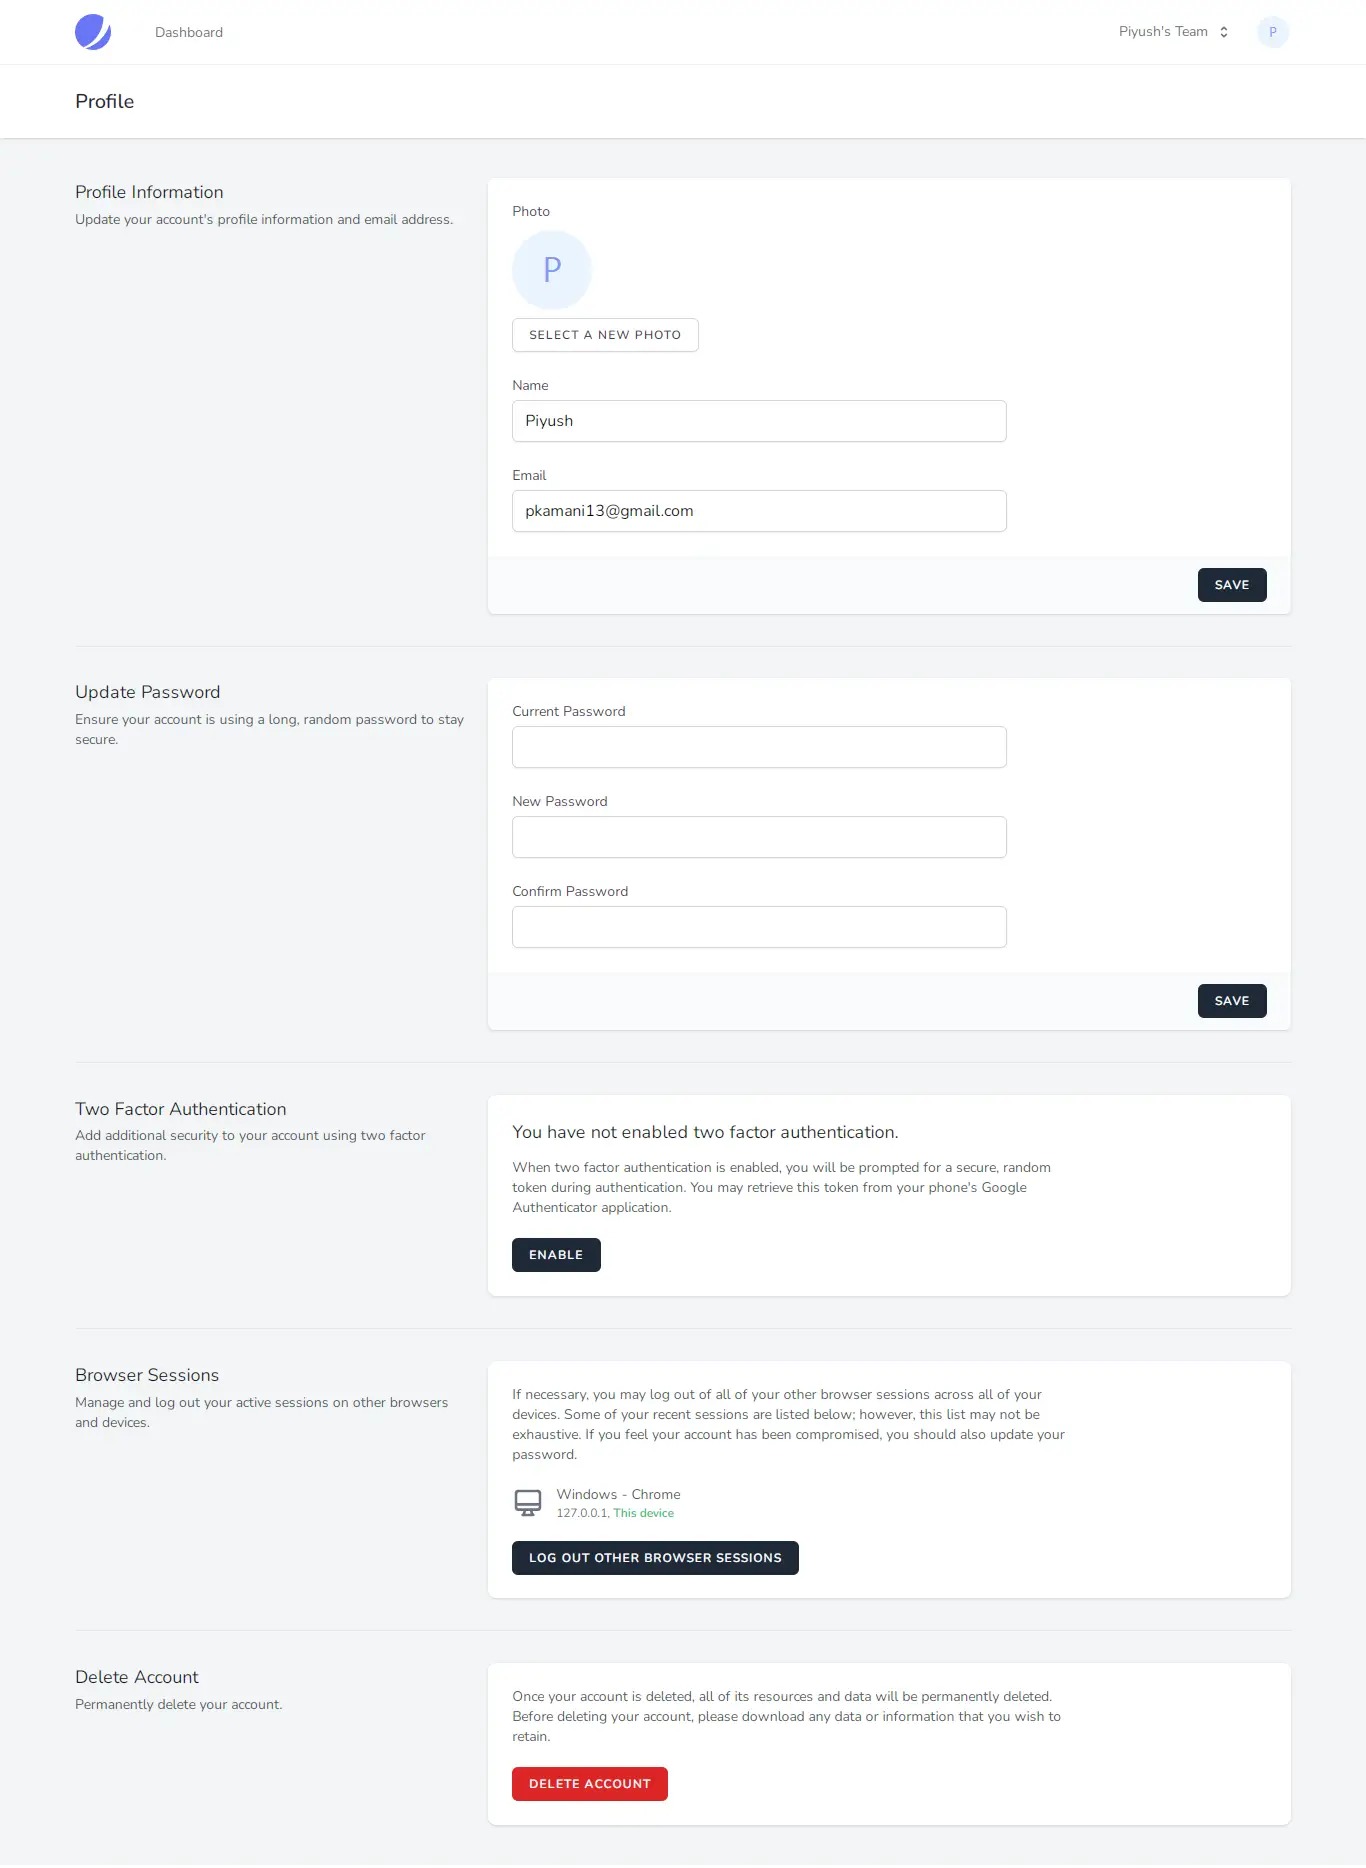
 Profile Page:
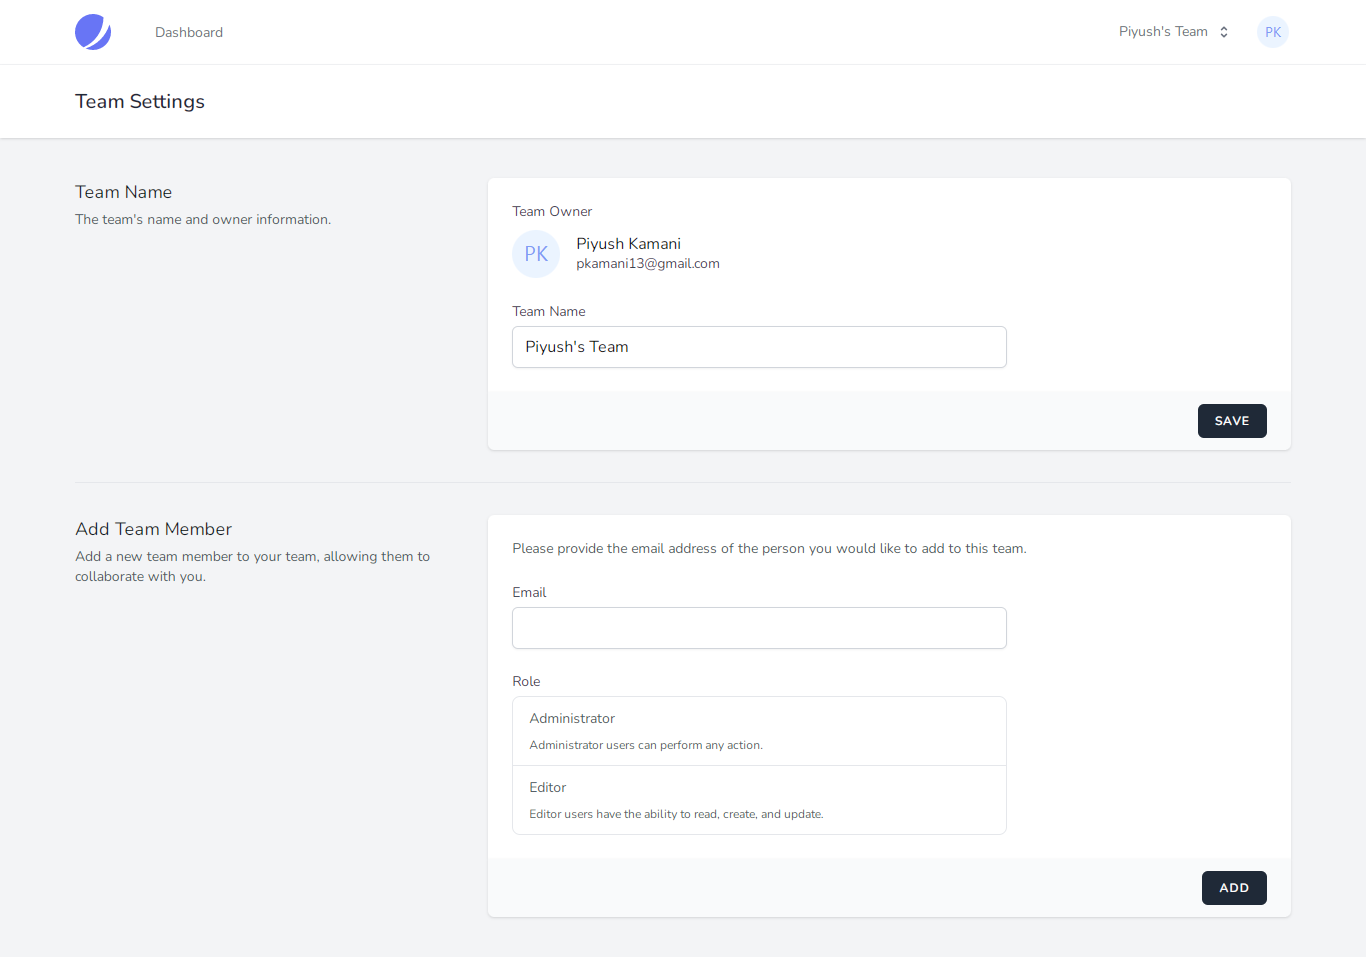
 Team Page:
I hope it can help you...