Laravel 9 Install Telescope Tutorial Example
May 11, 2022 . Admin
Hi Guys,
In this tutorial, I will learn you how to install a telescope in laravel 9.you can easily and simply use a telescope in laravel 9.
Laravel Telescope is an elegant debug assistant for the Laravel framework. You can create laravel website and application and then useful get debug and information rediable formate provide to laravel telescope.
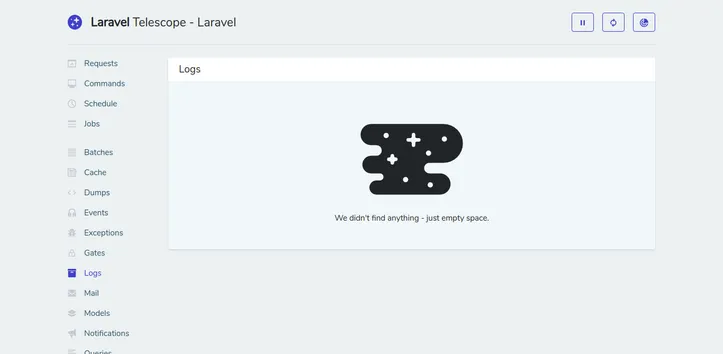
You can use Laravel Telescope to debug your requests, exceptions, databases, cache, and much more in real-time by accessing a specific route in your local environment.
Download LaravelLet us begin the tutorial by installing a new laravel application. if you have already created the project, then skip the following step.
composer create-project laravel/laravel example-appInstalling Laravel Telescope:
First step,you can install package in composer.
composer require laravel/telescope
If you are only using Telescope in your local environment you can add the --dev flag as below.
composer require laravel/telescope --dev
You’ll then need to publish its assets and run a database migration using the following:
php artisan telescope:install
php artisan migrate
If you will use a local environment then remove this line Application Service Providers section.
config/app.phpApp\Providers\TelescopeServiceProvider::class,
Then add to provider following:
app/Providers/AppServiceProvider.phpuse App\Providers\TelescopeServiceProvider;
And register() method
if ($this->app->isLocal()) {
    $this->app->register(TelescopeServiceProvider::class);
}
If you are using Telescope in a production environment then by default only specified users will be able to access the Telescope dashboard. These can be added in the gate() method.
app/Providers/TelescopeServiceProvider.php
<?php

/**
 * Write code on Method
 *
 * @return response()
 */
protected function gate()
{
    Gate::define('viewTelescope', function ($user) {
        return in_array($user->email, [
            'user@email.com',
        ]);
    });
}
you can choose specify id in array.
return in_array($user->id, [
    1, 2, 3,
]);
Run Laravel App:
All steps have been done, now you have to type the given command and hit enter to run the laravel app:
php artisan serve
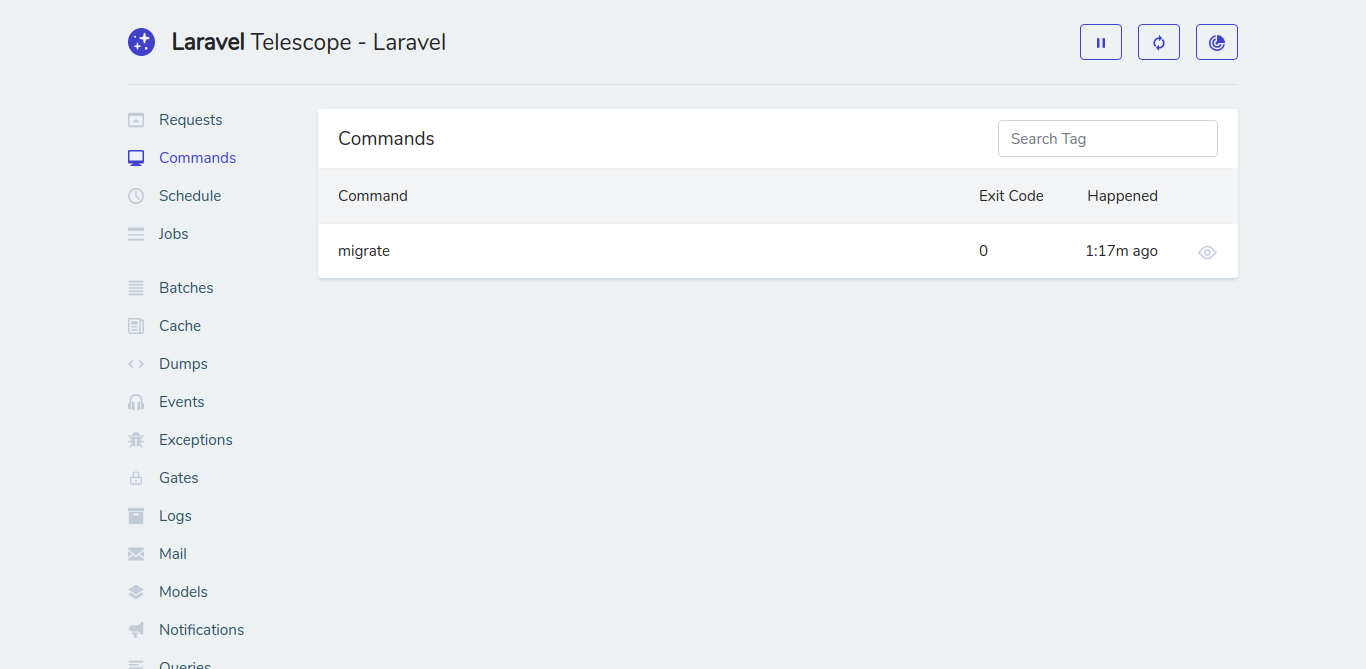
Now, you have to open a web browser, type the given URL and view the app output:
http://localhost:8000/telescopeOutput:
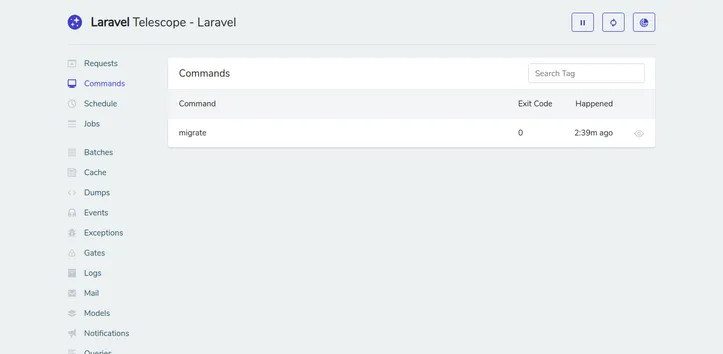
It will help you...