How to use Map Function in React Native?
Jun 10, 2022 . Admin
Hi Guys,
In this tutorial we will go over the demonstration of react native map function example. I explained simply step by step how to use map function in react native. This article goes in detailed on how to create map function in react native. I explained simply about map function example in react native. follow bellow step for how to implement map function in react native.
The map function is used to show a list of elements from an array. Properly saying, The map() method creates a new array with the results of calling a provided function on every element in the calling array.
Step 1: Download ProjectIn the first step run the following command to create a project.
expo init ExampleAppStep 2: App.js
In this step, You will open the App.js file and put the code.
import React from 'react';
import { StyleSheet, Text, View, StatusBar, Image, ScrollView } from 'react-native';

const DATA = [
    {
        id: '1',
        image: 'https://i1.wp.com/ggrmlawfirm.com/wp-content/uploads/avatar-placeholder.png?fit=256%2C256&ssl=1',
        name: 'Divyesh',
        email: 'divyesh@gmail.com',
        contry: 'India',
    },
    {
        id: '2',
        image: 'https://i1.wp.com/ggrmlawfirm.com/wp-content/uploads/avatar-placeholder.png?fit=256%2C256&ssl=1',
        name: 'Nikhil',
        email: 'nikhil@gmail.com',
        contry: 'India',
    },
    {
        id: '3',
        image: 'https://i1.wp.com/ggrmlawfirm.com/wp-content/uploads/avatar-placeholder.png?fit=256%2C256&ssl=1',
        name: 'Bhavesh',
        email: 'bhavesh@gmail.com',
        contry: 'India',
    },
    {
        id: '5',
        image: 'https://i1.wp.com/ggrmlawfirm.com/wp-content/uploads/avatar-placeholder.png?fit=256%2C256&ssl=1',
        name: 'Vishal',
        email: 'vishal@gmail.com',
        contry: 'India',
    },
    {
        id: '6',
        image: 'https://i1.wp.com/ggrmlawfirm.com/wp-content/uploads/avatar-placeholder.png?fit=256%2C256&ssl=1',
        name: 'Mehul',
        email: 'mehul@gmail.com',
        contry: 'India',
    },
    {
        id: '7',
        image: 'https://i1.wp.com/ggrmlawfirm.com/wp-content/uploads/avatar-placeholder.png?fit=256%2C256&ssl=1',
        name: 'Dharmik',
        email: 'dharmik@gmail.com',
        contry: 'India',
    },
    {
        id: '8',
        image: 'https://i1.wp.com/ggrmlawfirm.com/wp-content/uploads/avatar-placeholder.png?fit=256%2C256&ssl=1',
        name: 'Piyush',
        email: 'piyush@gmail.com',
        contry: 'India',
    },
    {
        id: '9',
        image: 'https://i1.wp.com/ggrmlawfirm.com/wp-content/uploads/avatar-placeholder.png?fit=256%2C256&ssl=1',
        name: 'Savan',
        email: 'savan@gmail.com',
        contry: 'India',
    },
    {
        id: '10',
        image: 'https://i1.wp.com/ggrmlawfirm.com/wp-content/uploads/avatar-placeholder.png?fit=256%2C256&ssl=1',
        name: 'Rajesh',
        email: 'rajesh@gmail.com',
        contry: 'India',
    },
];


const App = () => {
    return (
        <View>
            <ScrollView>
                {
                    DATA.map((item) =>
                        <View key={item.id} style={styles.innerContainer}>
                            <Image source={{ uri: item.image }} style={styles.img} />
                            <Text style={styles.item}>Name: { item.name }</Text>
                            <Text style={styles.item}>Email: { item.email }</Text>
                            <Text style={styles.item}>Contry: { item.contry }</Text>
                        </View>
                    )
                }
                <StatusBar/>
            </ScrollView>
        </View>
    );
}

const styles = StyleSheet.create({
    innerContainer: {
        alignItems: 'center',
        padding: 30,
        margin: 2,
        backgroundColor: '#c53920'
    },
    img: {
        width:100,
        height:100,
        borderRadius:60,
    },
    item: {
        color:'white',
        marginTop:10,
        fontSize:18,
    },
});

export default App;
Run Project
In the last step run your project using the below command.
expo start
You can QR code scan in Expo Go Application on mobile.
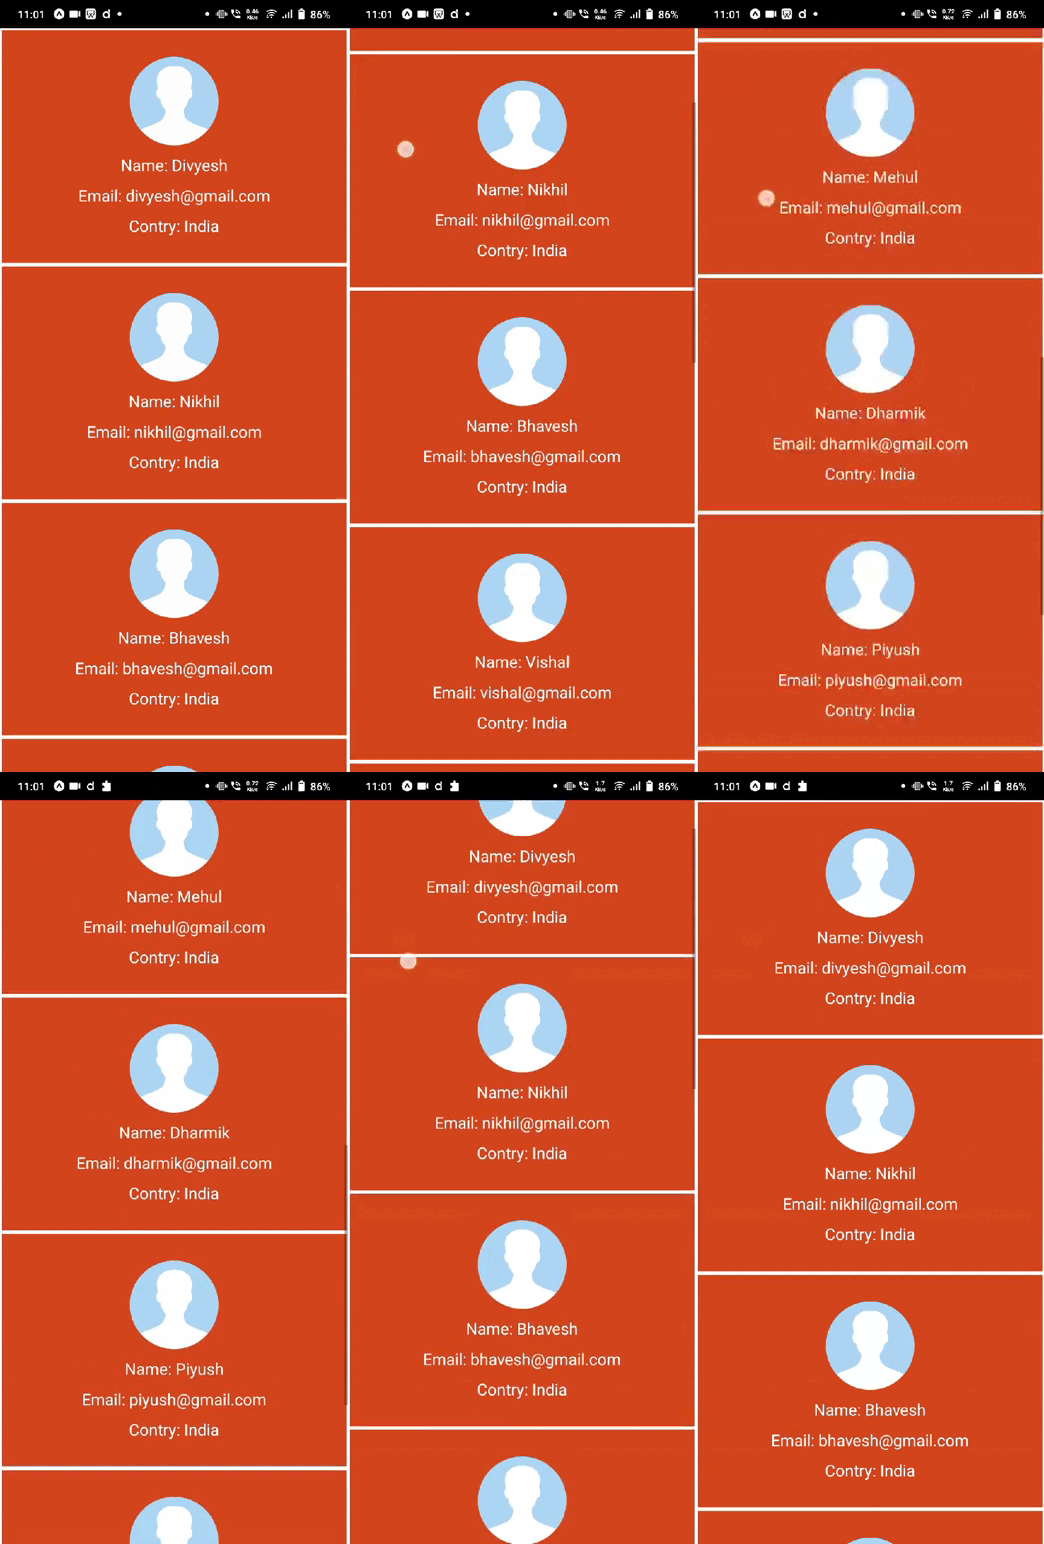
Output :
It will help you...
