React Native Flatlist Scroll to Top Example
Sep 10, 2022 . Admin

This article will provide example of react native scroll to top with flatlist. We will use flatlist with scrollto in react native. We will look at example of how to add scroll to top to a flatlist in reactnative app. step by step explain react native scroll up or down the listview on the click of button. So, let's follow few step to create example of react native flatlist scroll to top example.
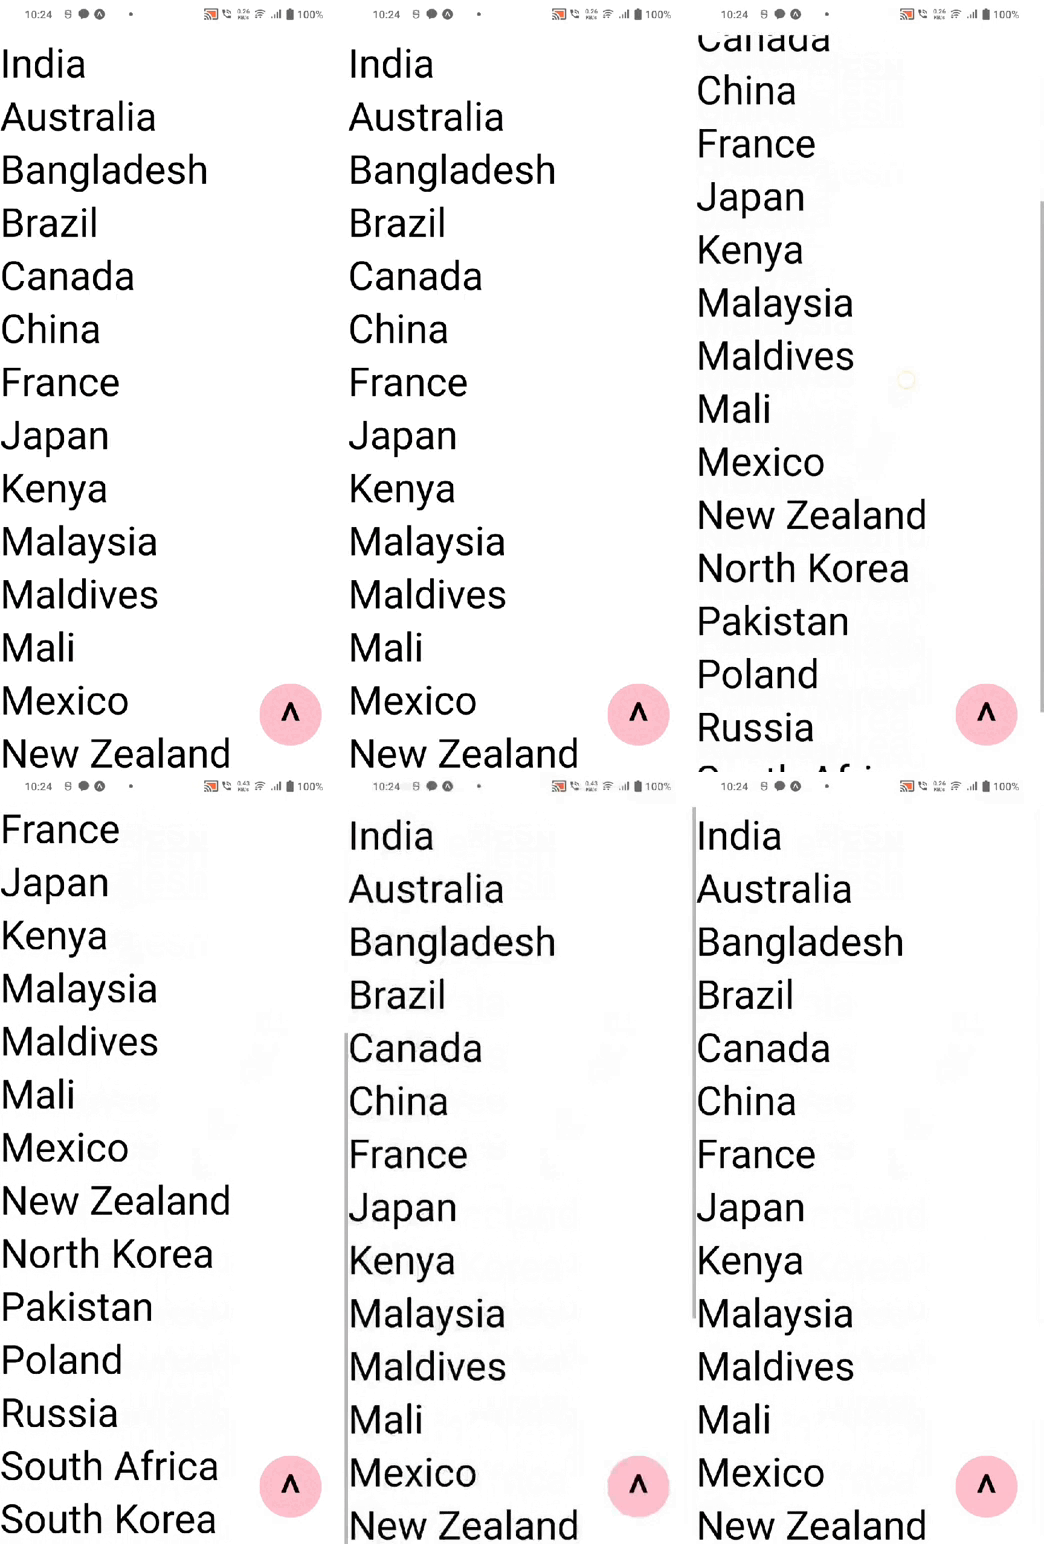
In this example,we will create to signle click then bottom to top display flaltlist data in react native.We can make use of scrollToIndex method to scroll to the top.The following example also gives you an idea about how to use scrollToIndex in FlatList.
Step 1: Download ProjectIn the first step run the following command to create a project.
expo init ExampleAppStep 2: App.js
In this step, You will open the App.js file and put the code.
import React, {useRef} from 'react';
import {StyleSheet, Pressable, FlatList, Text, View} from 'react-native';

const App = () => {
  const flatlistRef = useRef();
  const Countries  = [
    {
      id: 1,
      name: 'India',
    },
    {
      id: 2,
      name: 'Australia',
    },
    {
      id: 3,
      name: 'Bangladesh',
    },
    {
      id: 4,
      name: 'Brazil',
    },
    {
      id: 5,
      name: 'Canada',
    },
    {
      id: 6,
      name: 'China',
    },
    {
      id: 7,
      name: 'France',
    },
    {
      id: 8,
      name: 'Japan',
    },
    {
      id: 9,
      name: 'Kenya',
    },
    {
      id: 10,
      name: 'Malaysia',
    },
    {
      id: 11,
      name: 'Maldives',
    },
    {
      id: 12,
      name: 'Mali',
    },
    {
      id: 13,
      name: 'Mexico',
    },
    {
      id: 14,
      name: 'New Zealand',
    },
    {
      id: 15,
      name: 'North Korea',
    },
    {
      id: 16,
      name: 'Pakistan',
    },
    {
      id: 17,
      name: 'Poland',
    },
    {
      id: 18,
      name: 'Russia',
    },
    {
      id: 19,
      name: 'South Africa',
    },
    {
      id: 20,
      name: 'South Korea',
    }
  ];

  const onPressFunction = () => {
    flatlistRef.current.scrollToIndex({index: 0});
  };
  return (
    <View style={styles.container}>
      <FlatList
        ref={flatlistRef}
        data={Countries}
        keyExtractor={(item) => item.id}
        renderItem={({item}) => <Text style={styles.title}>{item.name}</Text>}
      />
      <Pressable style={styles.button} onPress={onPressFunction}>
        <Text style={styles.arrow}>^</Text>
      </Pressable>
    </View>
  );
};

const styles = StyleSheet.create({
  container: {
    flex: 1,
    paddingTop: 40
  },
  title: {
    fontSize: 45,
  },
  button: {
    position: 'absolute',
    width: 70,
    height: 70,
    borderRadius: 70 / 2,
    backgroundColor: 'pink',
    alignItems: 'center',
    justifyContent: 'center',
    right: 30,
    bottom: 30,
  },
  arrow: {
    fontSize: 60,
  },
});

export default App;
Step 3: Run Project
In the last step run your project using the below command.
expo start
You can QR code scan in Expo Go Application on mobile.
Output:

It will help you...
