Laravel 9 Scout Search with Database Driver Example
Mar 04, 2022 . Admin
Hi friends,
In this tutorial,i will tell Laravel 9 Scout Search with Database Driver Example. i will show the example of laravel 9 scout full text search. you can see laravel 9 scout search example. it can this example full explain scout full text search in laravel 9. Here you will learn how to add full text search in laravel 9 scout. you will learn laravel 9 scout elasticsearch example.
Let us know more about Laravel Scout, and it’s a powerful driver-based eloquent package that helps you develop super-fast fast-text search combining with your laravel models.
In this Laravel 9 Scout example, we will tell you how to process every ingredient to form the quick, responsive, and agile full-text search in laravel 9.
Here the following steps example laravel 9 full text search Using scout.
Step 1: Download LaravelLet us begin the tutorial by installing a new laravel application. if you have already created the project, then skip following step.
composer create-project laravel/laravel example-appStep 2: Install Scout
In this step we have to install scout package and we will publish them:
composer require laravel/scout
Next, we have to publish our configuration file. so you need to run bellow command:
php artisan vendor:publish --provider="Laravel\Scout\ScoutServiceProvider"
Now we need to set configuration database as driver in your env file:
.envSCOUT_DRIVER=databaseStep 3: Update User Model
Here, we already have users table created, so we need use "Searchable" and create toSearchableArray() method. so let's update following code:
app/Models/User.php
<?php

namespace App\Models;

use Illuminate\Contracts\Auth\MustVerifyEmail;
use Illuminate\Database\Eloquent\Factories\HasFactory;
use Illuminate\Foundation\Auth\User as Authenticatable;
use Illuminate\Notifications\Notifiable;
use Laravel\Sanctum\HasApiTokens;
use Laravel\Scout\Searchable;

class User extends Authenticatable
{
    use HasApiTokens, HasFactory, Notifiable, Searchable;


    /**
     * The attributes that are mass assignable.
     *
     * @var string[]
     */
    protected $fillable = [
        'name',
        'email',
        'password',
    ];

    /**
     * The attributes that should be hidden for serialization.
     *
     * @var array
     */
    protected $hidden = [
        'password',
        'remember_token',
    ];

    /**
     * The attributes that should be cast.
     *
     * @var array
     */
    protected $casts = [
        'email_verified_at' => 'datetime',
    ];

    /**
     * Get the indexable data array for the model.
     *
     * @return array
     */
    public function toSearchableArray()
    {
        return [
            'name' => $this->name,
            'email' => $this->email
        ];
    }
}
Next, we will create some dummy records on users table and import it.
so let's run following commands:
Create Dummy Records:
php artisan tinker

User::factory()->count(20)->create()
Import Records:
php artisan scout:import "App\Models\User"Step 4: Create UserController Controller
In this point, now we should create a new controller as UserController. In this controller, we will add index method, that will return users with filter.
Let's update following code to your controller file:
app/Http/Controllers/UserController.php
<?php

namespace App\Http\Controllers;

use Illuminate\Http\Request;
use App\Models\User;

class UserController extends Controller
{
    /**
     * Display a listing of the resource.
     *
     * @return \Illuminate\Http\Response
     */
    public function index(Request $request)
    {
        if($request->filled('search')){
            $users = User::search($request->search)->get();
        }else{
            $users = User::get()->take('5');
        }

        return view('users', compact('users'));
    }
}
Step 5: Creat Route
In this is step we need to create route for listing users. so open your "routes/web.php" file and add following route.
routes/web.php
<?php

use Illuminate\Support\Facades\Route;

use App\Http\Controllers\UserController;

/*
|--------------------------------------------------------------------------
| Web Routes
|--------------------------------------------------------------------------
|
| Here is where you can register web routes for your application. These
| routes are loaded by the RouteServiceProvider within a group which
| contains the "web" middleware group. Now create something great!
|
*/

Route::get('users', [UserController::class, 'index']);
Step 6: Create View
In Last step, let's create users.blade.php(resources/views/users.blade.php) for layout and we will write design code here and put following code:
resources/views/users.blade.php
<!DOCTYPE html>
<html>
<head>
    <title>Laravel 9 Scout Search with Database Driver Example - Mywebtuts.com</title>
    <link href="https://cdnjs.cloudflare.com/ajax/libs/twitter-bootstrap/5.0.1/css/bootstrap.min.css" rel="stylesheet">
</head>
<body>

<div class="container">

    <h3 class="mt-5 mb-5 text-center">Laravel 9 Scout Search with Database Driver Example - Mywebtuts.com</h3>

    <form method="GET" class="mb-5">
        <div class="input-group mb-3">
            <input
                type="text"
                name="search"
                value="{{ request()->get('search') }}"
                class="form-control"
                placeholder="Search..."
                aria-label="Search"
                aria-describedby="button-addon2">
            <button class="btn btn-primary" type="submit" id="button-addon2">Search</button>
        </div>
    </form>

    <table class="table table-bordered data-table">
        <thead>
            <tr>
                <th>ID</th>
                <th>Name</th>
                <th>Email</th>
            </tr>
        </thead>
        <tbody>
            @foreach($users as $user)
                <tr>
                    <td>{{ $user->id }}</td>
                    <td>{{ $user->name }}</td>
                    <td>{{ $user->email }}</td>
                </tr>
            @endforeach
        </tbody>
    </table>
</div>

</body>

</html>
Run Laravel App:
All steps have been done, now you have to type the given command and hit enter to run the laravel app:
php artisan serve
Now, you have to open web browser, type the given URL and view the app output:
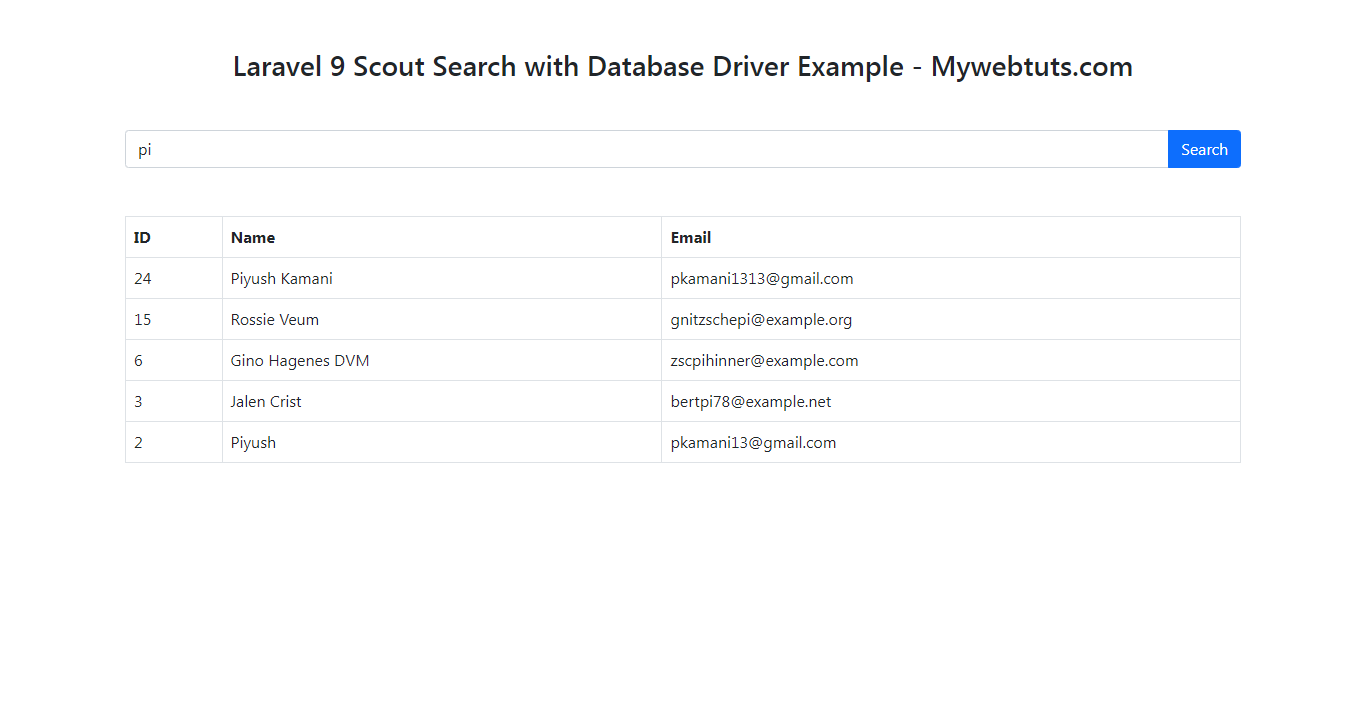
http://localhost:8000/usersOutput:
I hope it can help you...