React Native Image Upload with Axios Example
Jun 30, 2022 . Admin
Hi Guys,
In this example, you will learn how to upload image to server using axios in react native. we will help you to give example of react native image upload with axios example. this example will help you how to implement image upload with axios using react native. if you have question about react native axios image upload example then I will give simple example with solution. You just need to some step to done how to create image upload with axios in react native.
Let's start following example:
Step 1: Download ProjectIn the first step run the following command to create a project.
expo init ExampleAppStep 2: Install and Setup
You can install expo-image-picker to pick images:
expo install expo-image-picker
You can install axios to access https request Api:
npm install axiosStep 3: App.js
In this step, You will open the App.js file and put the code.
import React from 'react';
import { StyleSheet, Text, View, Image, TouchableOpacity} from 'react-native';
import * as ImagePicker from 'expo-image-picker';
import axios from 'axios';

const App = () => {
    const [photo, setPhoto] = React.useState(null);
    const [photoShow, setPhotoShow] = React.useState(null);

    const takePhotoAndUpload = async () => {

        let result = await ImagePicker.launchImageLibraryAsync({
            allowsEditing: false,
            aspect: [4, 3],
            quality: 1,
        });

        if (result.cancelled) {
            return;
        }

        let localUri = result.uri;
        setPhotoShow(localUri);
        let filename = localUri.split('/').pop();

        let match = /\.(\w+)$/.exec(filename);
        let type = match ? `image/${match[1]}` : `image`;

        let formData = new FormData();
        formData.append('photo', { uri: localUri, name: filename, type });

        await axios.post('http://localhost/api/file-upload', formData, {
            headers: { 'Content-Type': 'multipart/form-data' },
        }).then(res => {
            setPhoto(res.data.photo.photo);
        }).catch(err => {
            console.log(err.response);
        });
    }

    const dicardImage = () => {
        setPhotoShow(null);
    }

    return (
        <View style={styles.mainBody}>
            <View style={styles.titleContainer}>
                <Text style={styles.title}>React Native Image Upload Axios</Text>
            </View>

            {photoShow &&
                <View style={styles.imageContainer}>
                    <Image
                        source={{ uri: photoShow }}
                        style={{ width: '100%', height: 350 }}
                    />
                </View>
            }

            <TouchableOpacity
                style={styles.buttonStyle}
                activeOpacity={0.5}
                onPress={takePhotoAndUpload}
            >
                <Text style={styles.buttonTextStyle}>Upload Image</Text>
            </TouchableOpacity>
            <TouchableOpacity
                style={styles.buttonStyle}
                activeOpacity={0.5}
                onPress={dicardImage}
            >
                <Text style={styles.buttonTextStyle}>Discard Image</Text>
            </TouchableOpacity>
        </View>
    );
}

const styles = StyleSheet.create({
    mainBody: {
        flex: 1,
        justifyContent: 'center',
        padding: 20,
    },
    buttonStyle: {
        backgroundColor: '#307ecc',
        borderWidth: 0,
        color: '#FFFFFF',
        borderColor: '#307ecc',
        height: 40,
        alignItems: 'center',
        borderRadius: 30,
        marginLeft: 35,
        marginRight: 35,
        marginTop: 15,
    },
    buttonTextStyle: {
        color: '#FFFFFF',
        paddingVertical: 10,
        fontSize: 16,
    },
    textStyle: {
        backgroundColor: '#fff',
        fontSize: 15,
        marginTop: 16,
        marginLeft: 35,
        marginRight: 35,
        textAlign: 'center',
    },
    imageContainer: {
        justifyContent: 'center',
        alignItems: 'center',
        borderWidth:1,
        borderColor:'#d9d6d6',
        shadowColor: '#000',
        shadowOffset: { width: 0, height: 1 },
        shadowOpacity: 0.8,
        shadowRadius: 2,
        elevation: 5,
    },
    titleContainer: {
        alignItems:'center',
        marginBottom:30,
    },
    title: {
        fontSize:23,
        fontWeight:'bold',
    },
});

export default App;
Run Project
In the last step run your project using the below command.
expo start
You can QR code scan in Expo Go Application on mobile.
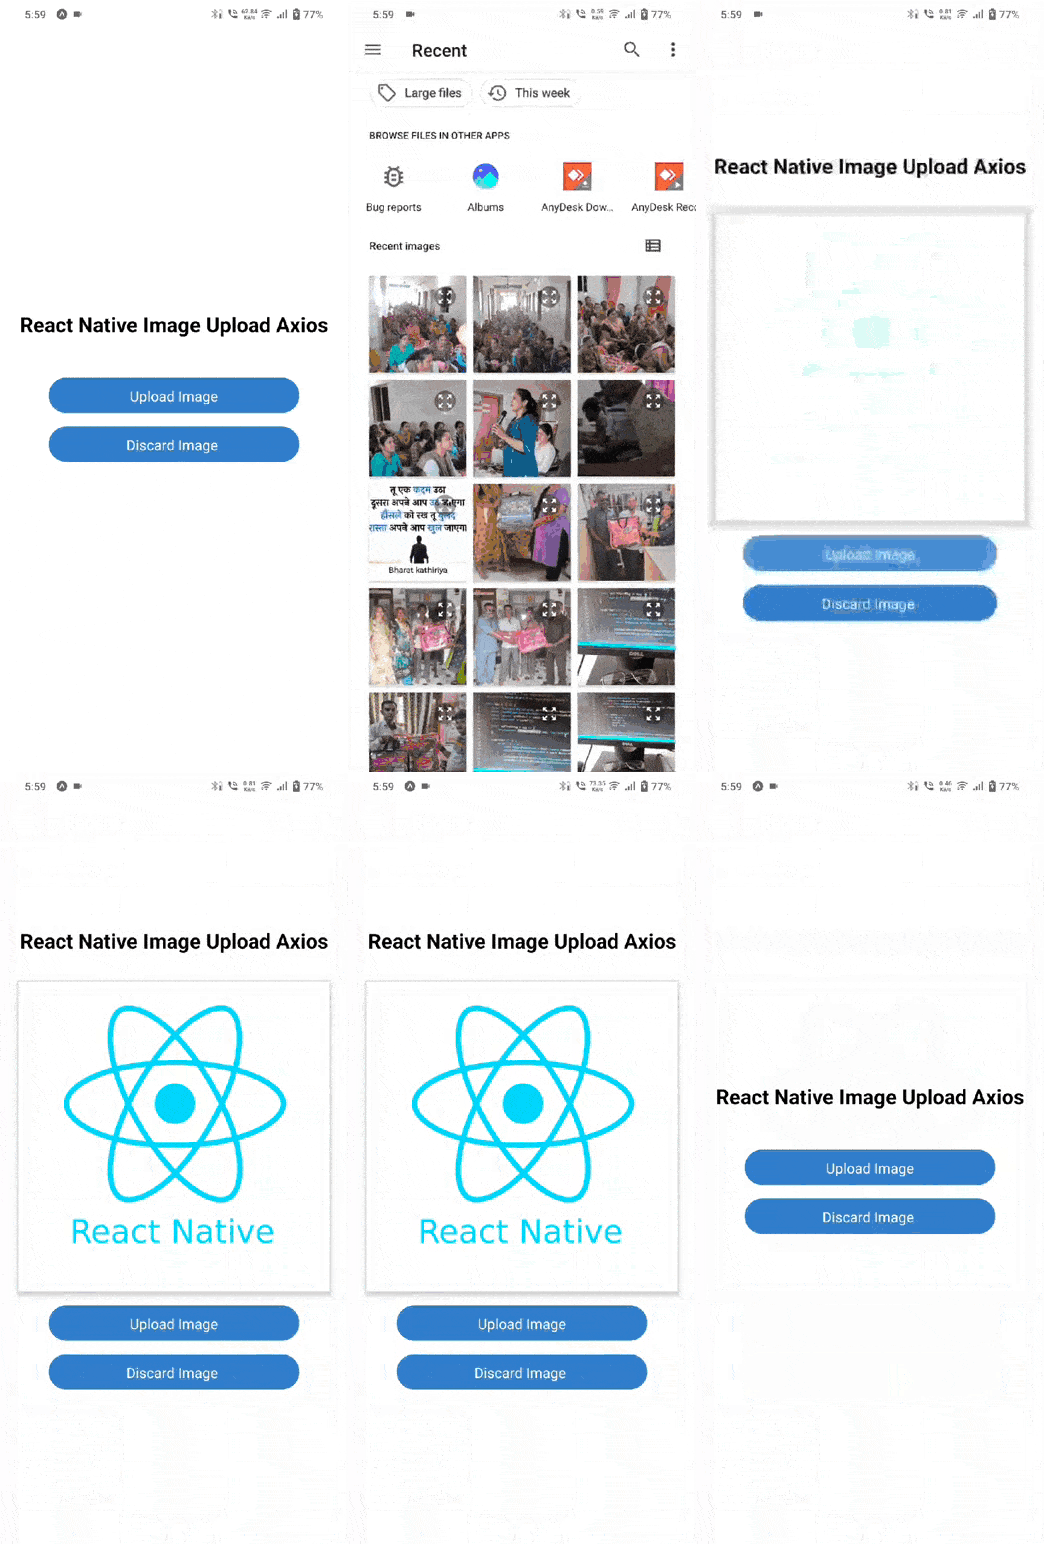
Output :
It will help you...
