React Native OnChange Event Example
Apr 01, 2021 . Admin
Hi Guys,
In this blog, I will explain you how to use on change event in react native. You can easily use on change event in react native. First i will create new fuction writeText

Here, I will give you full example for simply display on change event using react native as bellow.
Step 1 - Create project In the first step Run the following command for create project.expo init onChangeStep 2 - App.js
In this step, You will open App.js file and put the code.
import React, { Component } from 'react';
import { TextInput, StyleSheet, View , Text} from 'react-native';

export default class ButtonBasics extends Component {
  _writeText() {
    alert('Hello')
  }

  render() {
    return (
      <View style={styles.container}>
        <Text style={styles.textinfo}>
          React Native onChange Event Example MyWebtuts.com
        </Text>
        <View style={styles.buttonContainer}>

        <TextInput
          style={styles.formcontrol}
          placeholder="Type here!"
          autoFocus={true}
          onChange={this._writeText}
        />
        </View>
      </View>
    );
  }
}

const styles = StyleSheet.create({
  container: {
   flex: 1,
   justifyContent: 'center',
   backgroundColor: '#e1e1e1',
  },
  buttonContainer: {
    margin: 15,
    width: 320,
   justifyContent: 'center',
  },
  textinfo:{
    fontSize: 25,
    marginTop: 20,
    marginLeft: 20,
    textAlign: 'center',
  },
  formcontrol:{
    borderWidth: 2,
    padding: 10,
    borderRadius: 5,

  }
});
Step 3 - Run project
In the last step run your project using bellow command.
npm startOutput
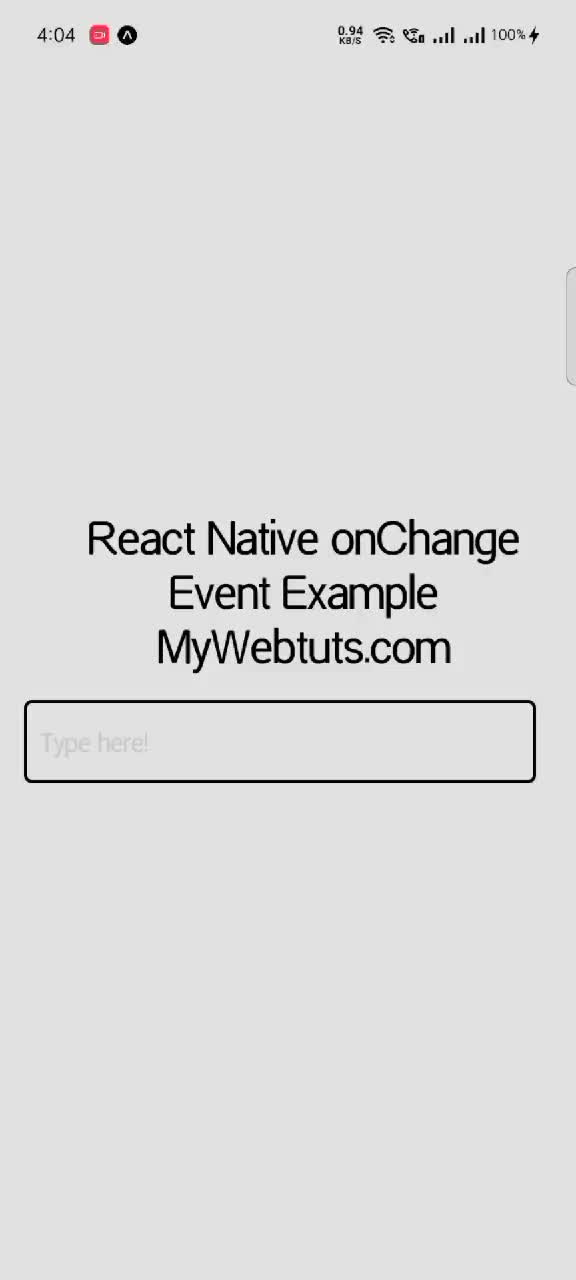
It will help you...