React Native Generate Random Color Example
Jun 14, 2022 . Admin

Hi Guys,
This article will give you example of react native generate random color example. I explained simply about how to implement random color in react native. if you want to see example of how to create random color in react native then you are a right place. step by step explain random color generator in react native. you will do the following things for how to generate random color in react native.
Step 1: Download ProjectIn the first step run the following command to create a project.
expo init ExampleAppStep 2: CATEGORIES.js
First of all you have create Data folder inside your project.in this folder create CATEGORIES.js file.
In this step, you will create the name of the object as CATEGORIEES. Export that object. You will import this file to use this object.
After then, You will open the CATEGORIES.js file and put the code.
Data/CATEGORIES.js
export const CATEGORIES = [
    {
        id:'1',
        category_name:'Mobile',
    },
    {
        id:'2',
        category_name:'HeadPhone',
    },
    {
        id:'3',
        category_name:'Computer',
    },
    {
        id:'4',
        category_name:'Laptop',
    },
    {
        id:'5',
        category_name:'AC',
    },
    {
        id:'6',
        category_name:'TV',
    },
    {
        id:'7',
        category_name:'Laptop',
    },
    {
        id:'8',
        category_name:'Refrigerator',
    },
    {
        id:'9',
        category_name:'Camera',
    },
    {
        id:'10',
        category_name:'Home Theater',
    },
];
Step 3: App.js
In this step, You will open the App.js file and put the code.
import React from 'react';
import { StyleSheet, Text, View, StatusBar, Pressable, Platform, FlatList } from 'react-native';
import { CATEGORIES } from "./Data/CATEGORIES";

const randomNumber = () => {
    const generateRandomColor = Math.floor(Math.random() * 16777215)
        .toString(16)
        .padStart(6, '0');
    return `#${generateRandomColor}`;
}

const CategoryGridTil = ({ name, onPressd }) => {
    return (
        <View style={styles.greedItem}>
            <Pressable
                style={({ pressed }) => [styles.button, pressed ? styles.buttonPressed : null]}
                android_ripple={{ color: '#ccc' }}
                onPress={onPressd}
            >
                <View style={[styles.innerContainer, { backgroundColor: randomNumber() }]}>
                    <Text style={styles.title}>{name}</Text>
                </View>
            </Pressable>
        </View>
    );
}

const renderCategoryItem = (itemData) => {
    const pressHandler = () => {
        alert(itemData.item.id + '\n' + itemData.item.category_name);
    }

    return (
        <CategoryGridTil name={itemData.item.category_name} onPressd={pressHandler} />
    );
}

const App = () => {
    return (
        <View style={{ backgroundColor: '#965c0c' }}>
            <FlatList
                data={CATEGORIES}
                keyExtractor={(item) => item.id}
                renderItem={renderCategoryItem}
                numColumns={2}
            />
            <StatusBar />
        </View>
    );
}

const styles = StyleSheet.create({
    greedItem: {
        flex: 1,
        margin: 16,
        height: 150,
        borderRadius: 8,
        elevation: 4,
        backgroundColor: 'white',
        shadowColor: 'black',
        shadowOpacity: 0.25,
        shadowOffset: {
            width: 0,
            height: 2,
        },
        shadowRadius: 8,
        overflow: Platform.OS === 'android' ? 'hidden' : 'visible',
    },
    button: {
        flex: 1,
    },
    buttonPressed: {
        opacity: 0.5,
    },
    innerContainer: {
        flex: 1,
        padding: 16,
        borderRadius: 8,
        justifyContent: 'center',
        alignItems: 'center',
    },
    title: {
        fontWeight: 'bold',
        fontSize: 18,
        color: 'white',
    },
});

export default App;
Run Project
In the last step run your project using the below command.
expo start
You can QR code scan in Expo Go Application on mobile.
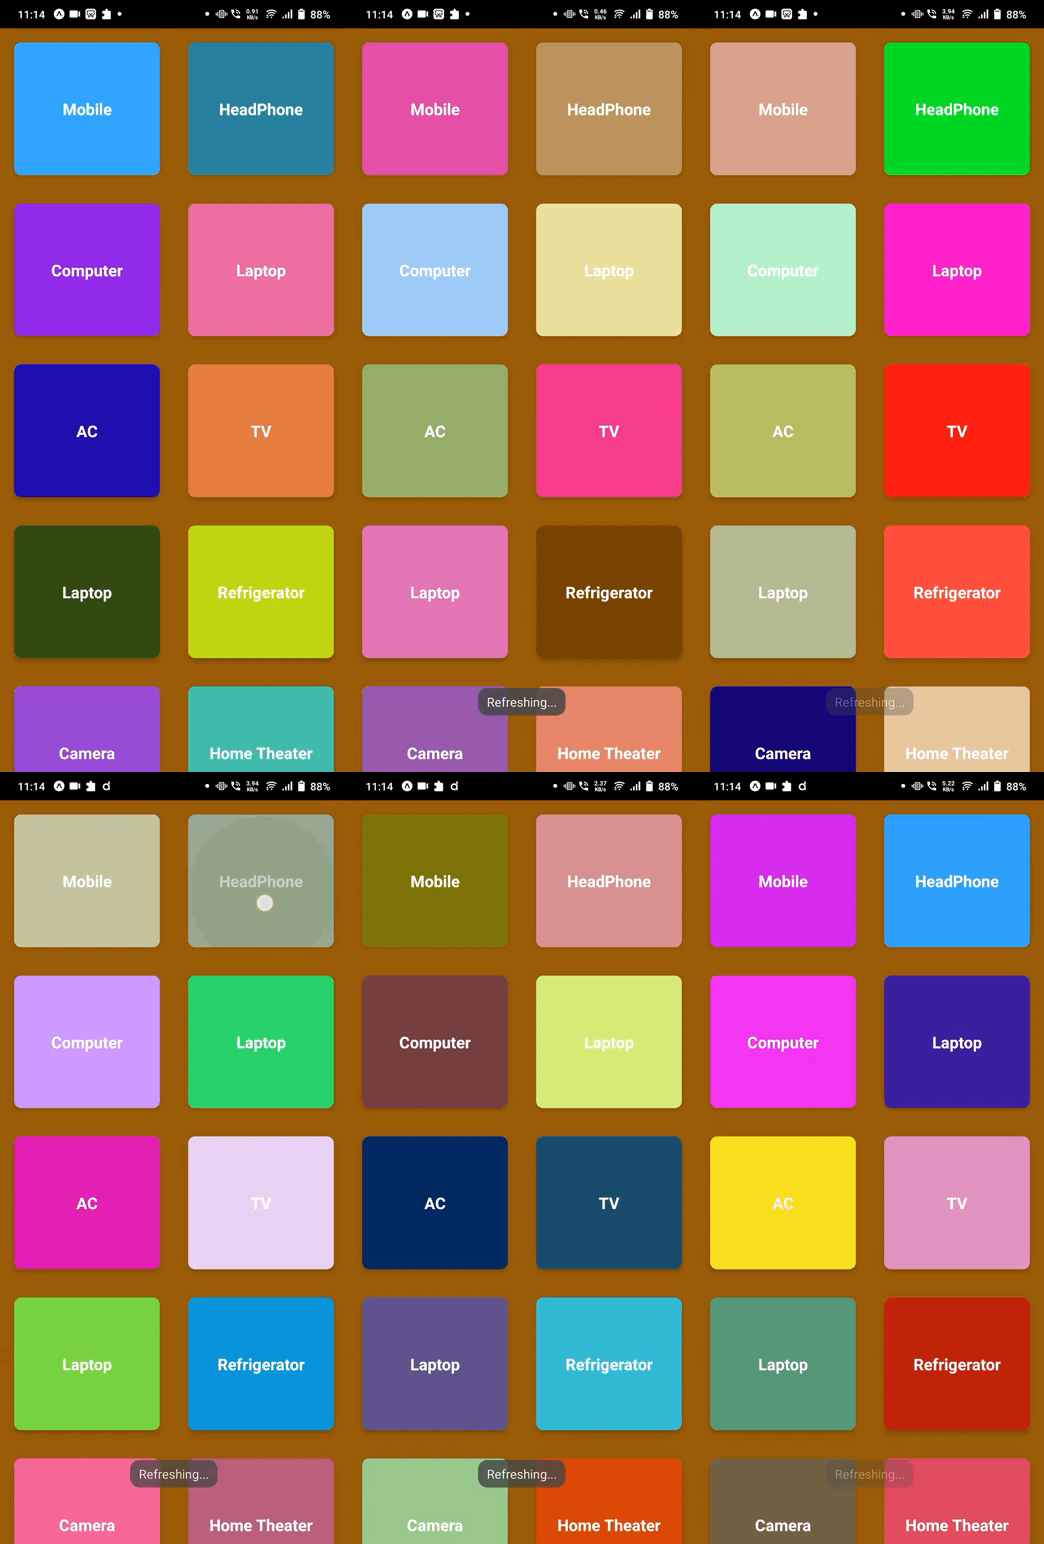
Output :
It will help you...
