React Native Refresh Previous Screen on Go Back Navigation Example
Jun 22, 2022 . Admin

Hi Guys,
Here, I will show you react native refresh previous screen on go back navigation example. This tutorial will give you simple example of how to implement refresh previous screen on go back navigation. This post will give you simple example of how to use screen refresh when navigating back in react native how to make screen refresh when navigating back in react native. if you have question about how to create screen refresh when navigating back in react native then I will give simple example with solution.
What if you want to make some changes to the screen you are navigating back to? In such cases, you can use Navigation Events API from React Navigation. It has many built in events such as focus, blur, beforeRemove, state, etc. You can use the focus event so that the focussed screen will get refreshed.
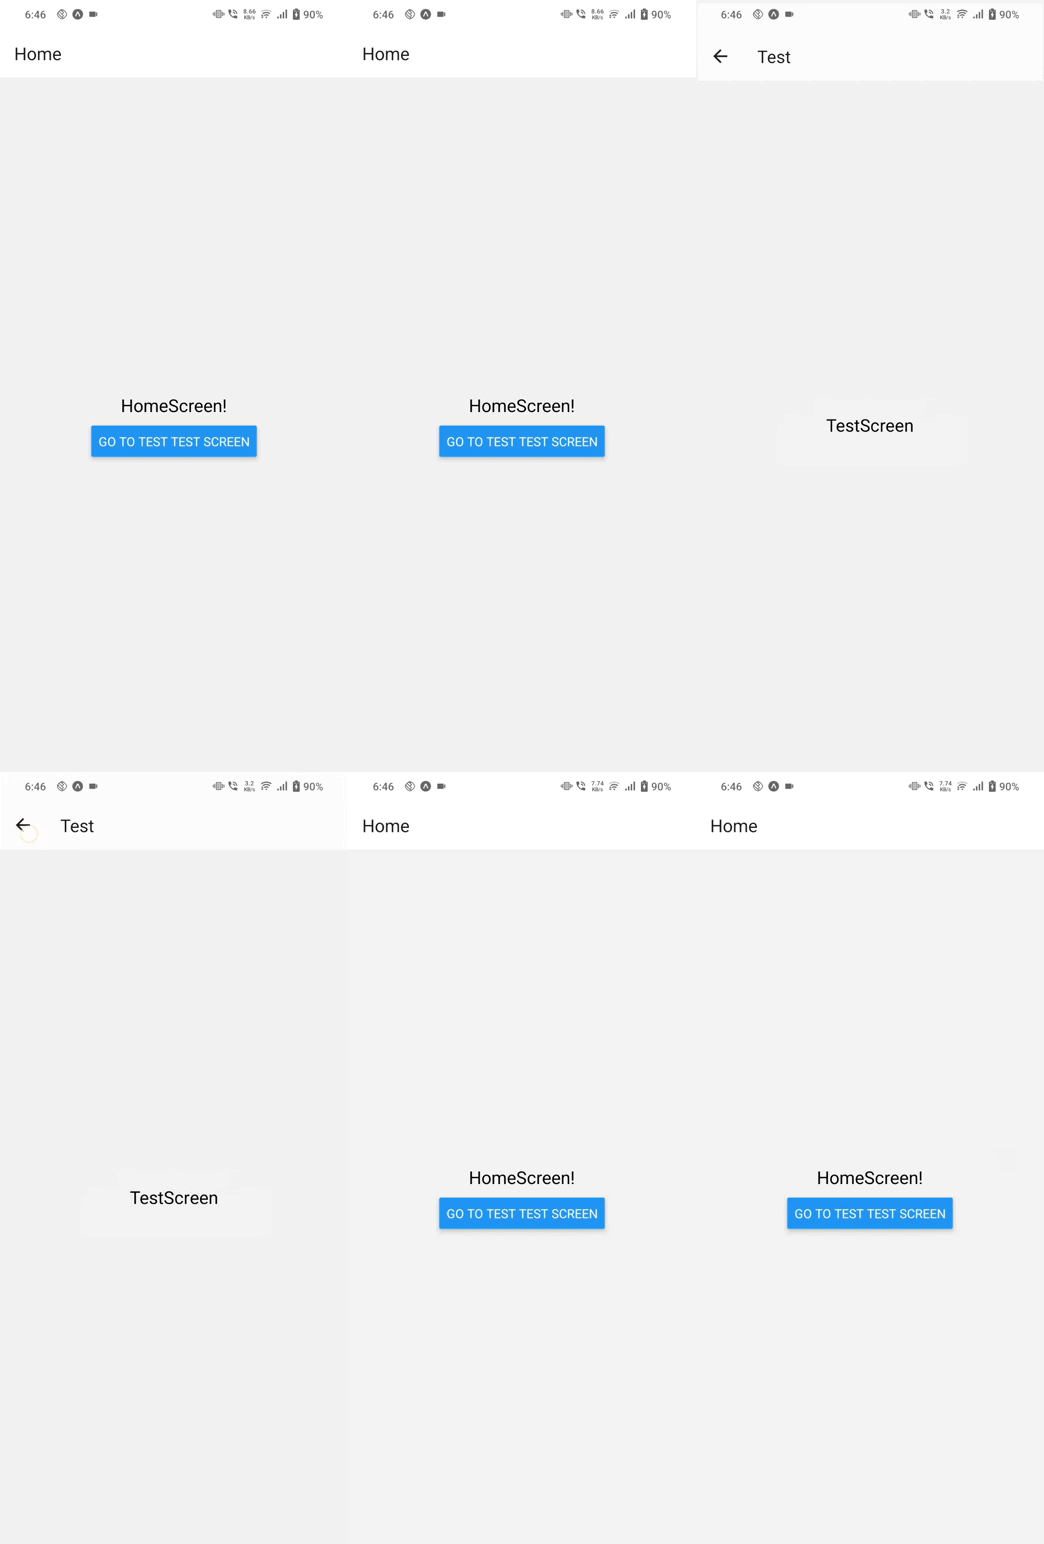
In the following example, I am using react navigation library to navigate from screen named HomeScreen to screen named TestScreen. I have added a listener using the useEffect hook in the HomeScreen. Inside it, there is an Alert function. The Alert function prompts when HomeScreen is focused as well as when navigating back from sample screen to the HomeScreen.
Let's start following example:
Step 1: Download ProjectIn the first step run the following command to create a project.
expo init ExampleAppStep 2: Install and Setup
Firstly, install the react navigation library to your react native project using the following command.
npm install @react-navigation/native
React navigation is dependent on some other libraries. So install them using the following command.
npm install react-native-reanimated react-native-gesture-handler react-native-screens react-native-safe-area-context @react-native-community/masked-view
We will be using Stack Navigator to demonstrate the example. Hence install it using the following command.
npm install @react-navigation/stack
Now, you have to add the following line at the top of your entry file, that is index.js file.
import 'react-native-gesture-handler';Step 3: App.js
In this step, You will open the App.js file and put the code.
import React from 'react';
import { NavigationContainer } from '@react-navigation/native';
import { createStackNavigator } from '@react-navigation/stack';
import HomeScreen from './Screens/HomeScreen';
import TestScreen from './Screens/TestScreen';

const Stack = createStackNavigator();

const App = () => {
    return (
        <NavigationContainer>
            <Stack.Navigator>
                <Stack.Screen name='Home' component={HomeScreen} />
                <Stack.Screen name='Test' component={TestScreen} />
            </Stack.Navigator>
        </NavigationContainer>
    );
}

export default App;
Step 4: HomeScreen.js
In this step, You will open the HomeScreen.js file and put the code.
import React from 'react';
import { StyleSheet, Text, View, Button, Alert } from 'react-native';

const HomeScreen = ({ navigation }) => {

    React.useEffect(() => {
        const focusHandler = navigation.addListener('focus', () => {
            Alert.alert('Refreshed');
        });
        return focusHandler;
    }, [navigation]);

    const gotoTestStackScreen = () => {
        navigation.navigate('Test');
    }

    return (
        <View style={styles.container}>
            <Text style={styles.text}>HomeScreen!</Text>
            <Button title="Go to test test screen" onPress={gotoTestStackScreen} />
        </View>
    );
}

const styles = StyleSheet.create({
    container: {
        flex: 1,
        justifyContent: 'center',
        alignItems: 'center',
    },
    text: {
        fontSize: 20,
        marginBottom: 10,
    },
});

export default HomeScreen;
Step 5: TestScreen.js
In this step, You will open the TestScreen.js file and put the code.
import React from 'react';
import { StyleSheet, Text, View } from 'react-native';

const TestScreen = () => {
    return (
        <View style={styles.container}>
            <Text style={styles.text}>TestScreen</Text>
        </View>
    );
}

const styles = StyleSheet.create({
    container: {
        flex: 1,
        justifyContent: 'center',
        alignItems: 'center',
    },
    text: {
        fontSize: 20,
    },
});

export default TestScreen;
Run Project
In the last step run your project using the below command.
expo start
You can QR code scan in Expo Go Application on mobile.
Output :
It will help you...
